Post by Contributing Writer Kristen Pretend play is such a fun and important part of the early years. It is tied to every aspect of a child’s development, helping them learn about the world around them as they…
Post by Contributing Writer Kim of Life Over C’s We use a lot of play dough in our home both for play and for learning. Because it is summer, I wanted to set up a play dough invitation that’s…
My children are relatively clueless as to what is going on around our country and the world, apart from what we choose to tell them (which is how it should be at their ages, in my opinion). Since we rarely…
We had some sensory fun exploring one of the Old Testament Bible stories this morning using some colored rice and random “props” to represent the ten plagues. Thanks to our Jesus Storybook Bible on CD (our absolute favorite…
I can’t take credit for this idea: Valerie from Frugal Family Fun is the genius behind this fun pretend play activity! I was motivated to make these felt cookies because we are in charge of Parents Night Out at our…
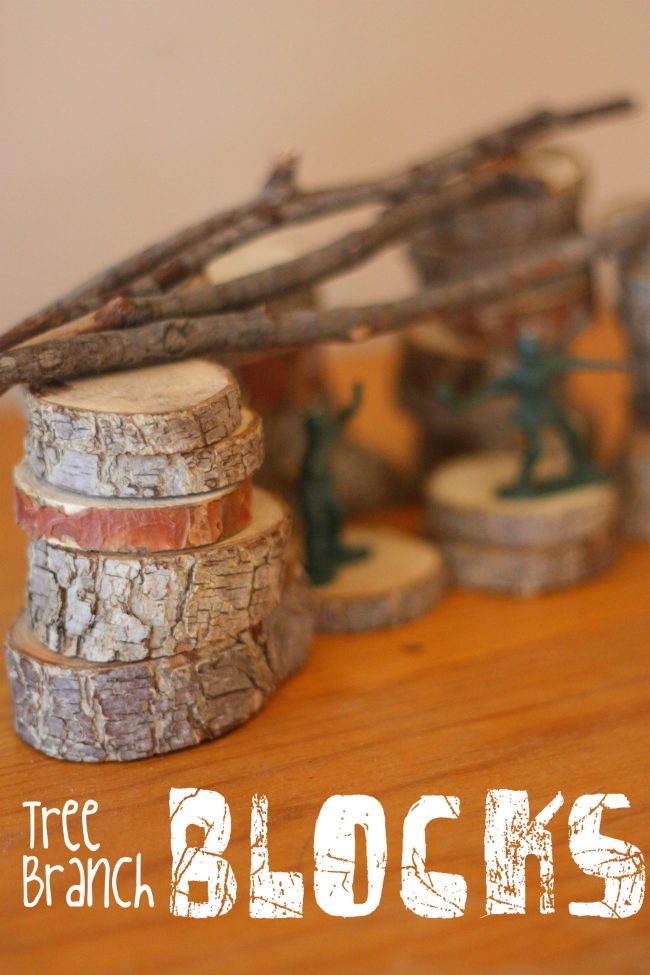
We have large trees in our yard…which is absolutely wonderful. However, we also live in an area where we gets lots of wind, which means that we often have branches and even large limbs scattered about in our yard….
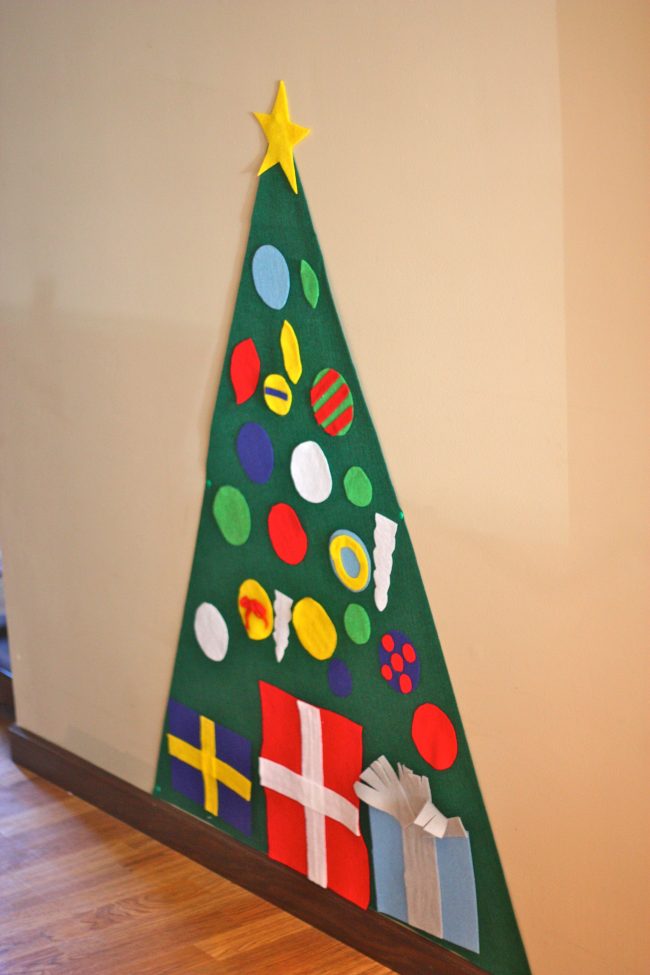
The idea for felt Christmas trees has been all over Pinterest recently, but my absolute favorite has been this version from Johnny in a Dress. I love the simplicity of the triangle for the Christmas tree as well as the…
Our children are so blessed to have the four best grandparents in the entire world. They are loved unconditionally and each grandparent brings a special, unique relationship to their lives. We are so very thankful for the way our parents…
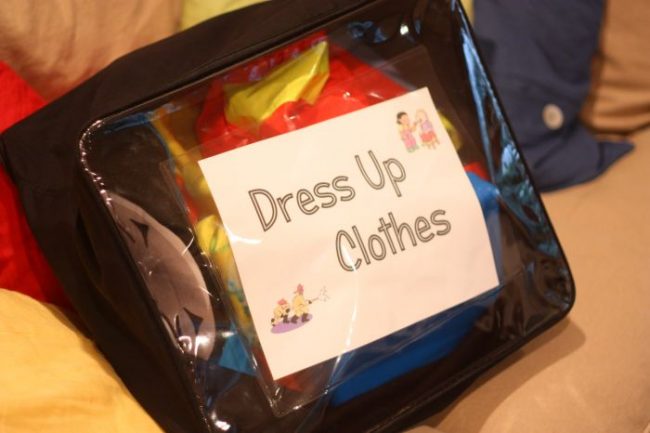
Last year I created this Pretend Play Dress Up Clothes kit for Big Brother for Christmas. I bought all the costumes right after Halloween for pennies on the dollar and saved them until Christmas. I put them all in…
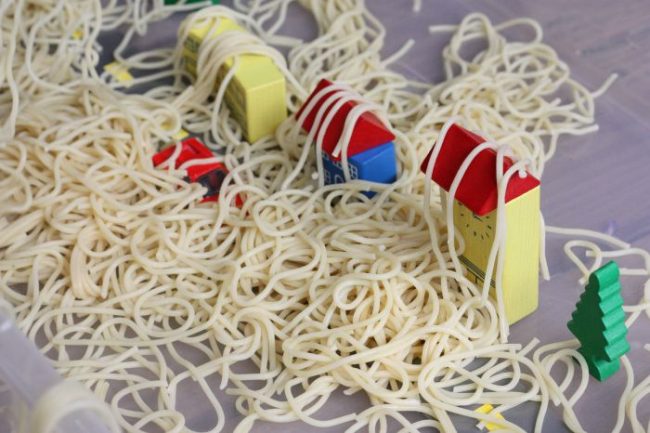
After our Cloudy with a Chance of Meatballs Sensory Tub, I thought it would be fun to do more sensory tubs inspired by some of our favorite children’s books! The Are You My Mother? Board Book is one of Little Brother’s…
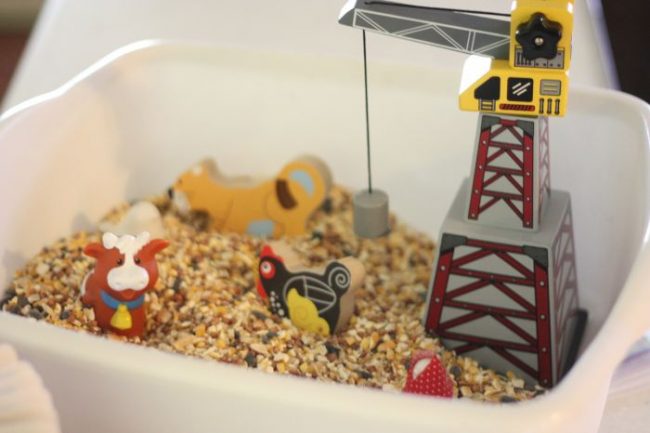
Big Brother’s favorite book at the moment is Cloudy with a Chance of Meatballs. We read it at least twice a day. If you’ve ever read this book, you know how long it is…it is quite the time investment! I think the…
Toddlers love to imitate and do what grown-ups do! Not only is this a great way to keep those busy little bodies out of trouble, it’s also kind of the beginning of “dramatic play”! Encourage your little one to be…
Aren’t these little penguin puppets cute? Big Brother has been having a ton of fun playing with them! I found this fun idea for making penguin puppets from empty toilet paper rolls from Preschool Express. Here’s what you’ll need: toilet…
We have been reading several books about the First Thanksgiving and Big Brother has been fascinated with Squanto and the Massasoit Indians. We decided to make {our own interpretation of} a Native American outfit (besides just a breechcloth…). :) Here’s…
I’m always amazed how the most mundane things in our lives can be extremely exciting in the eyes of a child. Now, obviously I consider myself extremely blessed to be able to vote and choose the leaders for our country,…
We had our very own “Dinosaurumpus” today! Combining gross-motor with pretend play, we had ourselves a grand-ol’ time! And the best part is…the only thing you need is your imagination. T-Rex Caleb A dinosaur who walks on four legs…(a Stegosaurus…