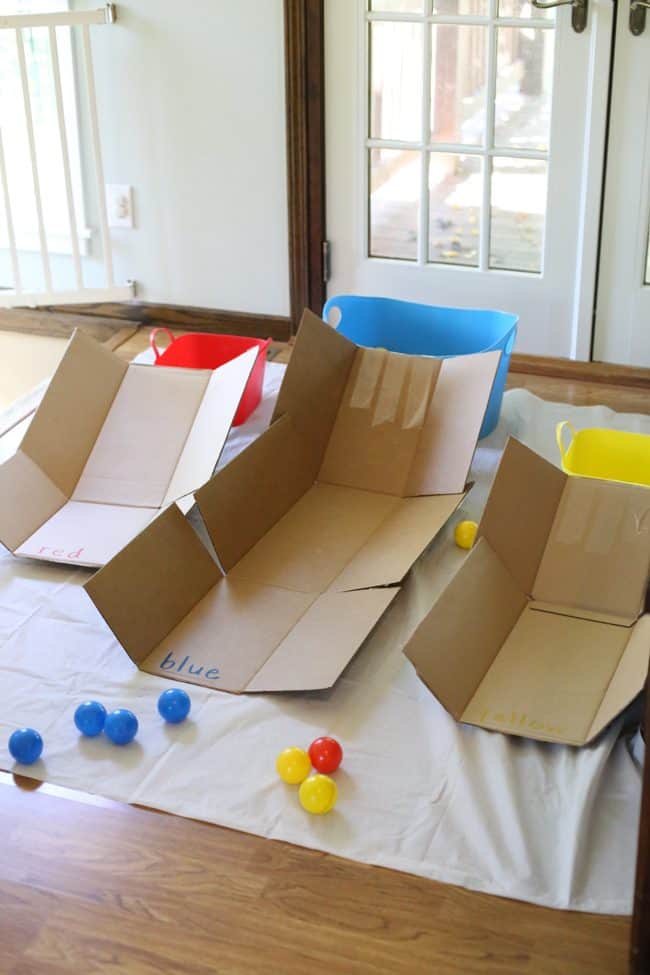
Our church is in the process of adopting a new workshop-model curriculum for our Children’s Ministry. Several of us traveled to a training a few hours away on Saturday at the church who originally wrote the curriculum we will be adopting. While there, I stumbled upon an adorable rainbow craft (for the story of Noah) that was made by simply putting some beads in the oven. I knew I wanted to try it out when we got back home…and adding a little magnet tape on the back transformed it into a super-cute Melted Bead Rainbow Magnet!
A word of warning: This activity is probably appropriate for school-aged children or maybe preschoolers with exceptional fine motor ability. Arranging the small beads without a guide was definitely challenging!
Here’s what you’ll need: plastic beads, small aluminum pan, an oven, and magnet tape. We received the pony beads and magnet tape compliments of CraftProjectIdeas.com. We only had the solid pony beads, but I think it turns out even prettier if you use translucent beads.
1. Gather your materials.
2. Sort the beads according to color. Little Brother helped us out with this part. :)
3. Begin arranging the beads in the aluminum tin.
Ready to go!
4. Put them in the oven. Make sure to keep a very close eye on them while they’re in there. I had to experiment a little bit with the temperature. I started with the oven at 350 degrees, but had to eventually turn it up to 400 degrees because we had to leave the house in a hurry. It might have taken 10 minutes at 400 degrees to melt the beads completely. Your kitchen will smell like lovely burnt plastic. :)
5. Let the rainbow cool completely.
6. Pop it out of the aluminum tin (it should come out easily once it is fully-cooled) and stick a piece of magnet tape on the back!


