This activity is a hands-on way for kids to explore the concept of consonants and vowels. As adults we all learned that there are two different types of letters: the vowels are “a”, “e”, “i”, “o”, and “u” (and…
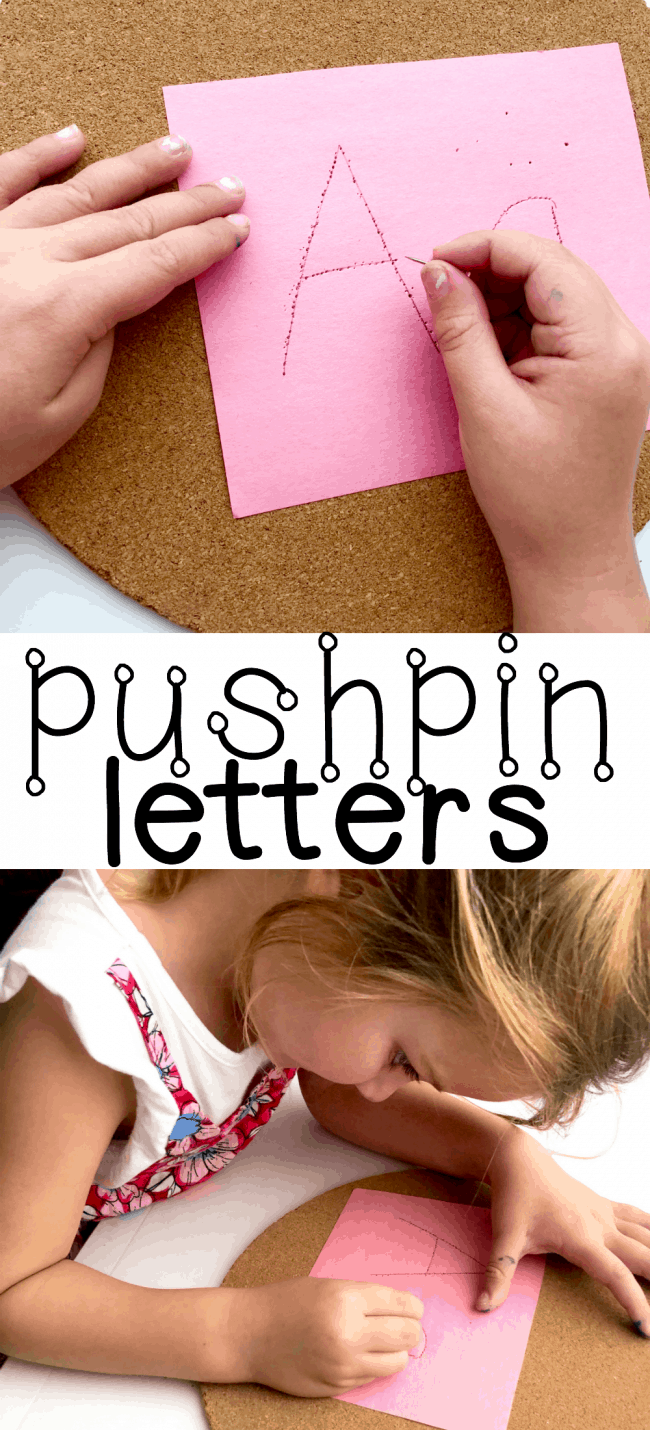
It’s Day 1 of our 30 Days of Reading Fun for Beginning Readers series…and it is also a holiday weekend, so we are having a little fun with this first activity. This Pushpin Letters activity is great for promoting…
Little Sister has been super excited about doing activities lately. Maybe it is because we did so many pumpkin activities for our 31 Days of Pumpkin Activities series that she is having withdrawals or maybe it is because she…
This post is sponsored by Walmart. All opinions are 100% mine. My boys head back to school next week and one of the activities we’ve wanted to do all summer is make slime! We decided to try something…
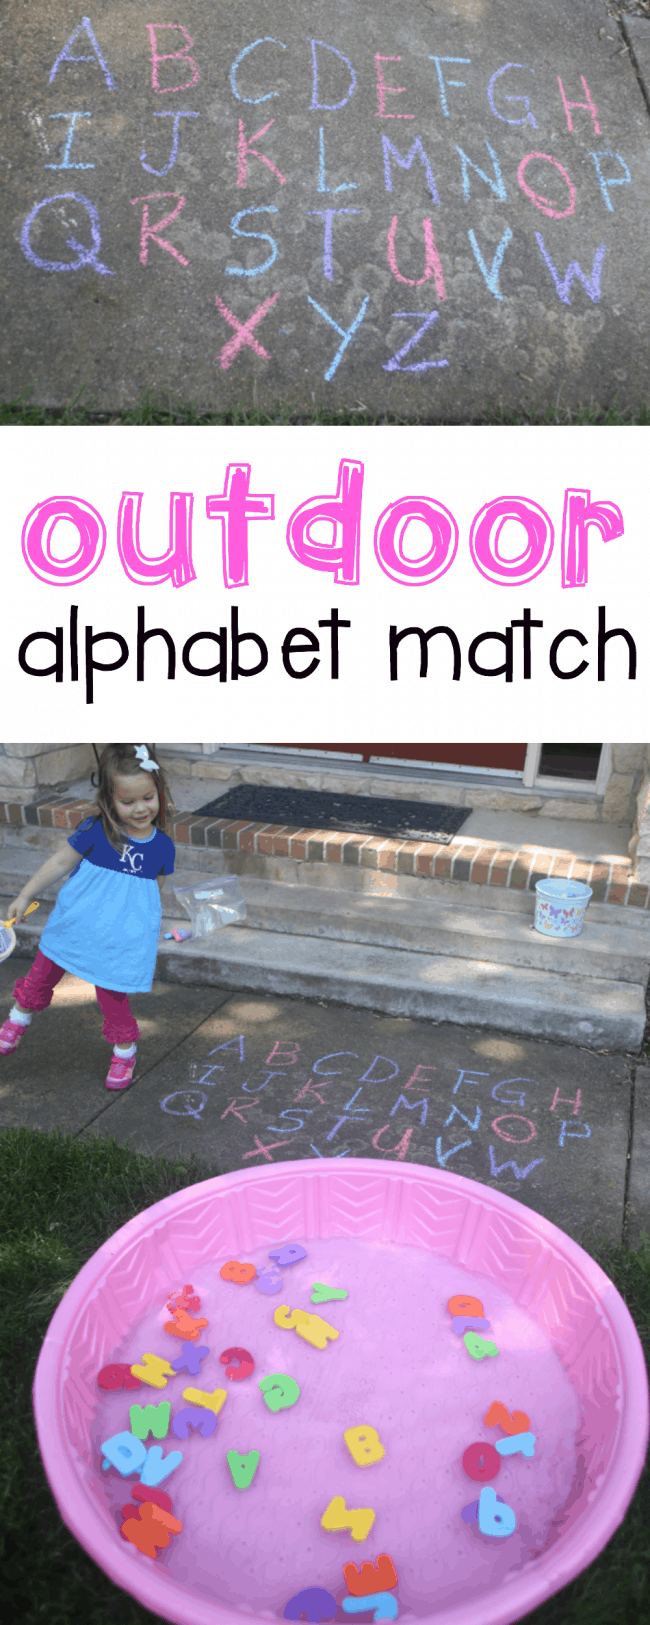
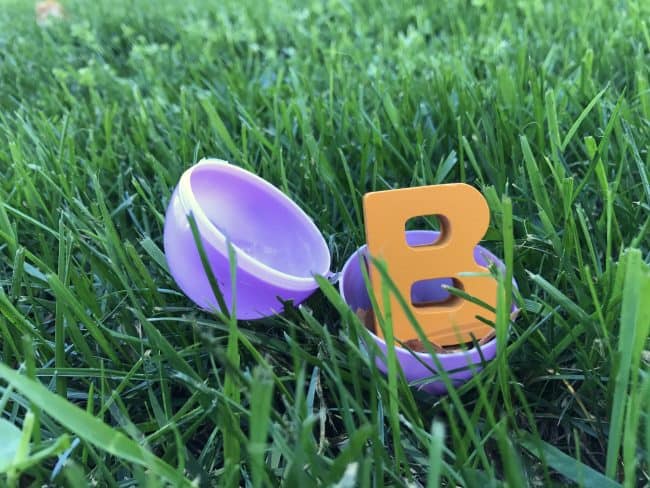
Even though the calendar says it is still spring, we are in full SUMMER mode now that school is out! For day 29 of our 31 Days of Outdoor Activities for Toddlers, Little Sister had some fun with…
Ahoy Matey! We joined up with some blogging friends for a special Pirate-themed day! Be sure to check out the bottom of the post for links to all our friends’ great ideas! We are also double-dipping and counting…
Today is Day 15 of our 31 Days of Outdoor Activities for Toddlers series. The last couple of days have involved fun and unstructured outdoor play (both in the backyard and then at the park), so today we…
Little Sister (3) and I have been working on letters and numbers more purposefully lately. In all honesty, I have not worked with her nearly as much as I did with the boys. Perhaps it is “Mommy Burnout”…
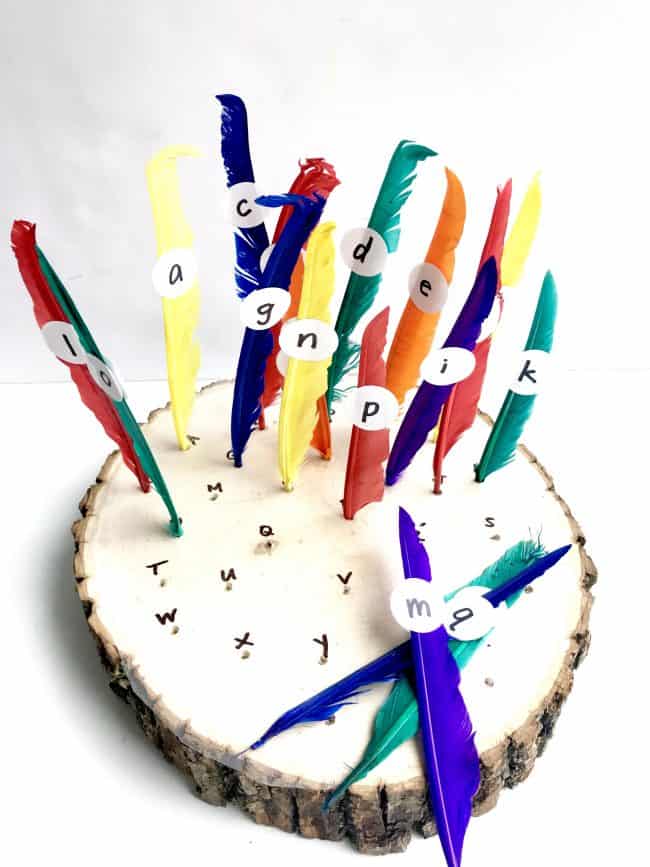
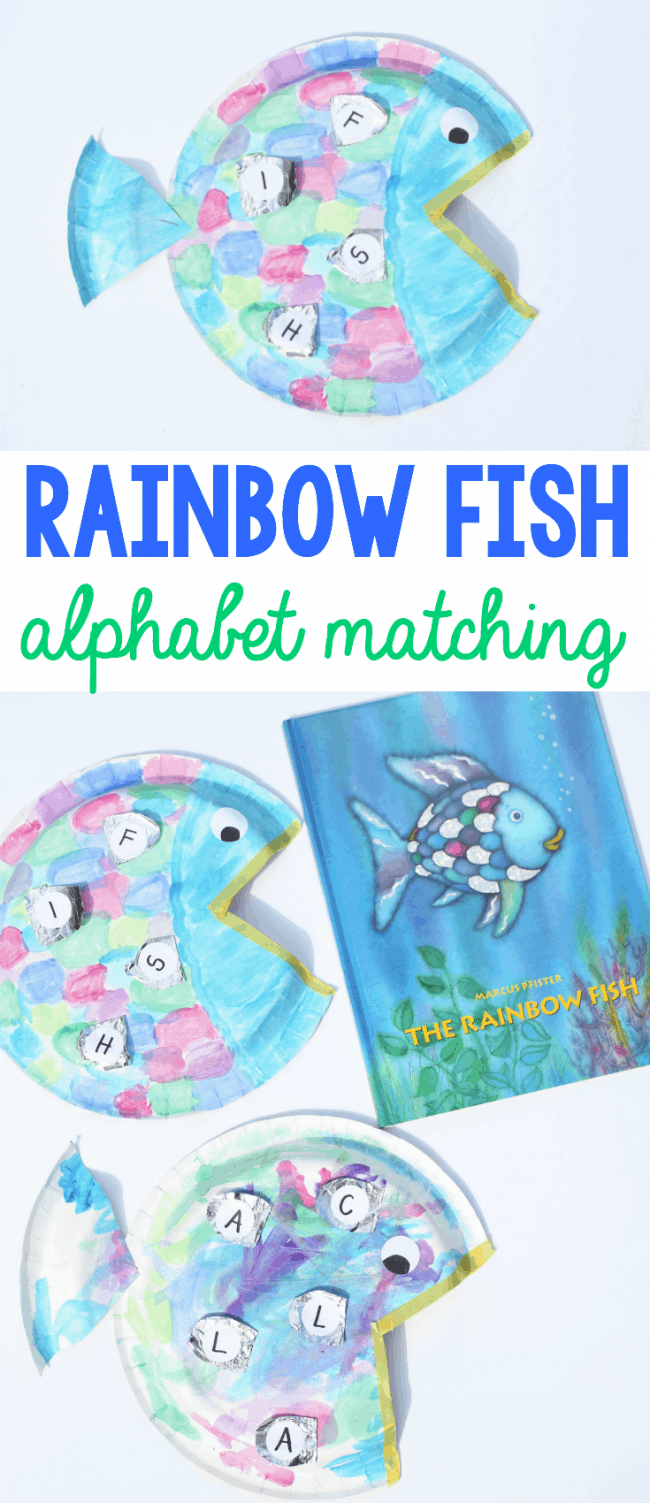
We are reading and exploring the book The Rainbow Fish by Marcus Pfister for this month’s Virtual Book Club for Kids. The kids and I all enjoyed the beautiful colors (and glittery foil stamping) while reading this book. I also loved…
Post by Contributing Writer Amy When it gets hot, it’s hard to think about learning activities for the kiddos, but this Swimming Pool Sound Match game was a winner with my girls because it was fun, easy, and kept…
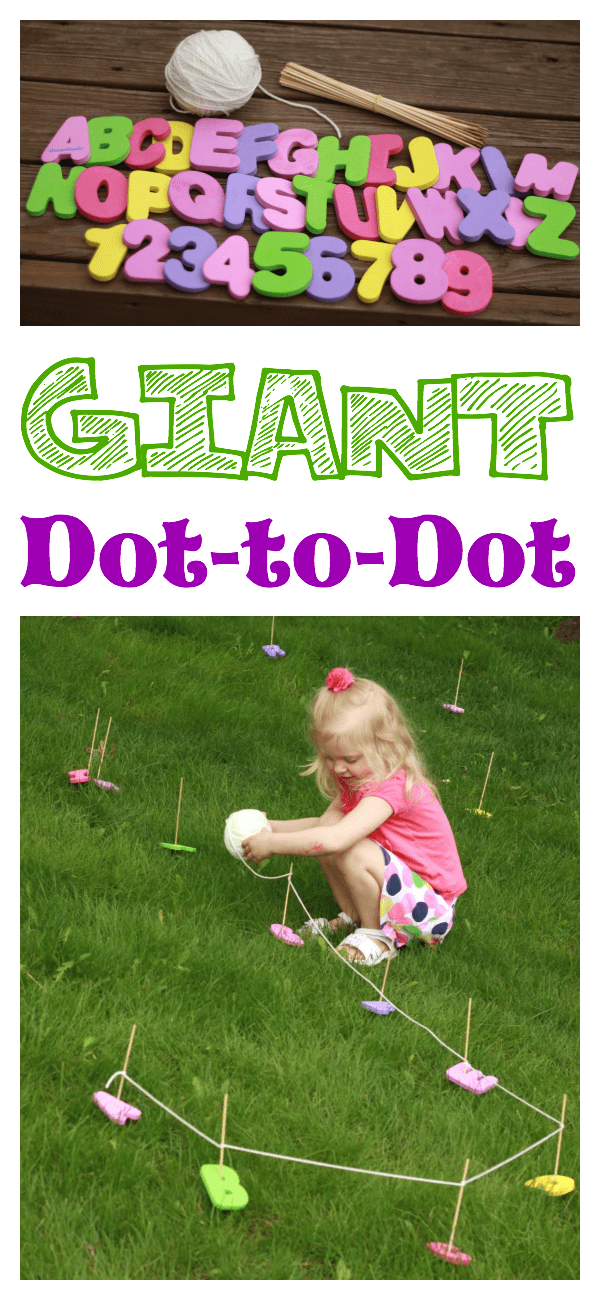
My three year-olds are intrigued by dot-to-dot puzzles, but struggle with the fine motor skills required to draw the line from one dot to the next. They often can’t tell what the picture is when they are done and…
This is one of those activities that the boys and I LOVED and I am SO EXCITED to share with you! It is the perfect union of reading/decoding and science. And it was definitely a huge hit at our…
Little Brother is slightly character-obsessed. He loves characters from various cartoons/movies, so I wanted to put that “passion” to good use by helping to reinforce letter names and sounds by creating a character alphabet book for him. We don’t…
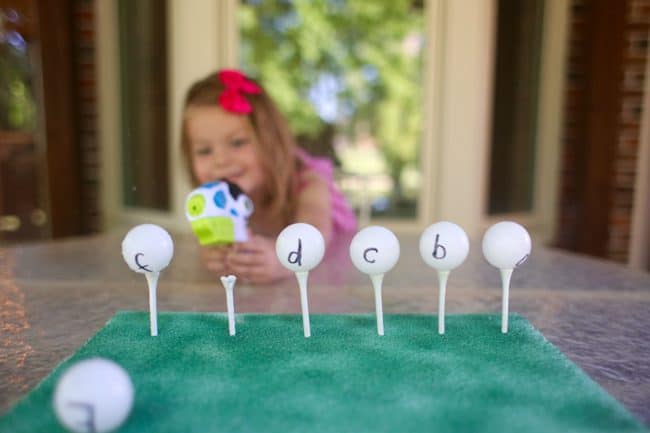
This is a super-simple activity that Little Brother loved! I used leftover ping pong balls from our hands-on blood demonstration and the plastic inserts that hold frozen quiche bites from a baby shower I helped with several months ago. To…
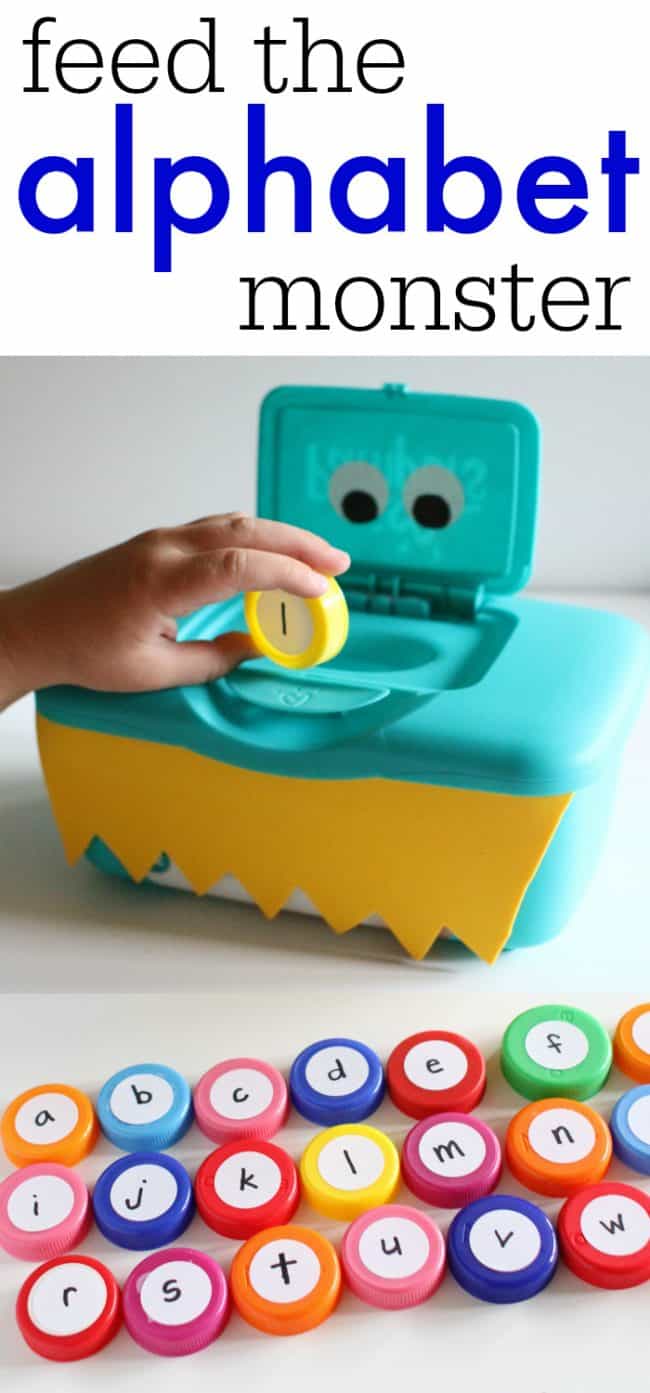
I love being able to repurpose things that would otherwise end up in the trash. And if you have children in your house, chances are the two items needed for this activity are plentiful: bottle caps (from milk and…
We are having a blast learning about the human body! As we have been learning about the various systems, the boys were especially intrigued with the skeletal system. We came up with this fun and interactive way to learn…
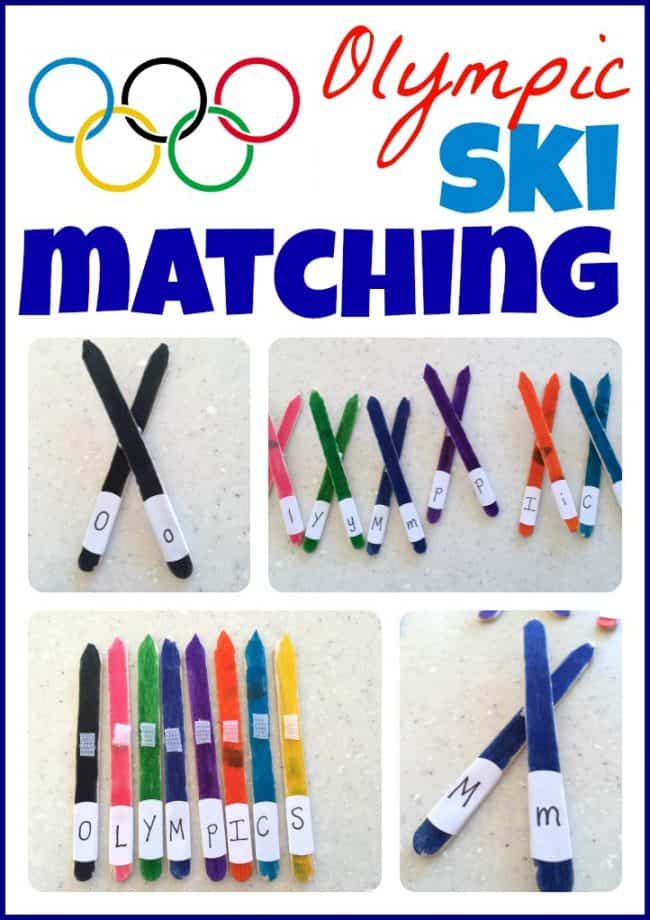
The Winter Olympics begin in exactly one week! Even though I tend to enjoy watching the summer Olympics more than the Winter Olympics, I LOVE to snow ski…so this ski matching activity is right up my alley! The great…
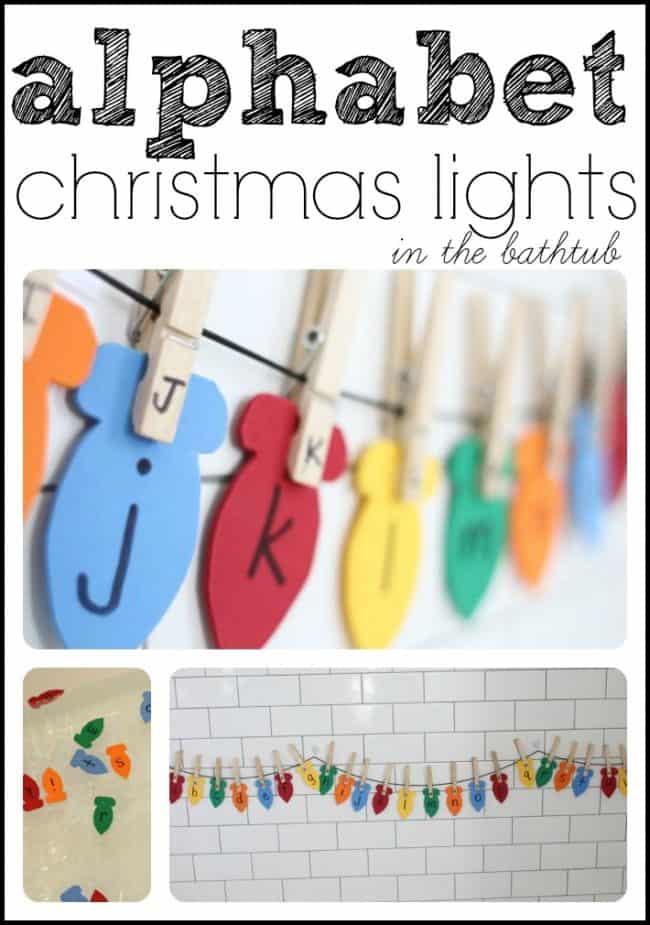
This Alphabet Christmas Lights activity was lots of fun and extremely versatile. Plus, it was excellent practice for matching capital and lowercase letters! We used it as a bathtub activity (and my boys absolutely loved it)…but it could just…