Cutest Dollhouse Bookcase To Build Yourself

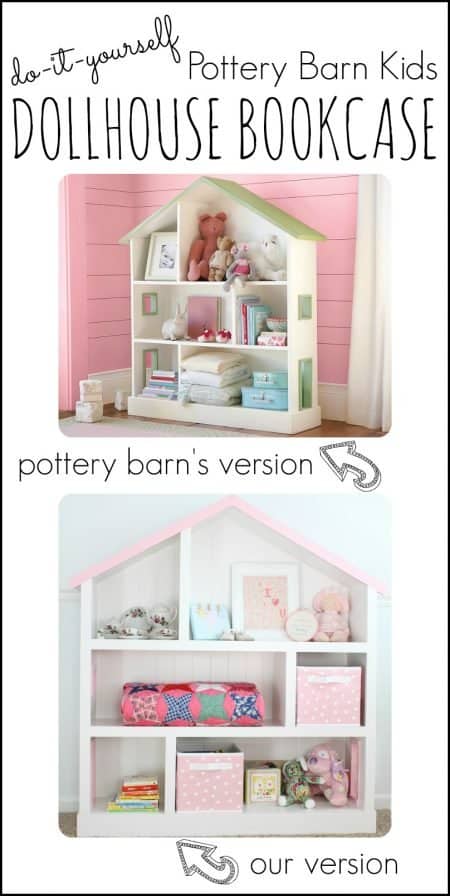
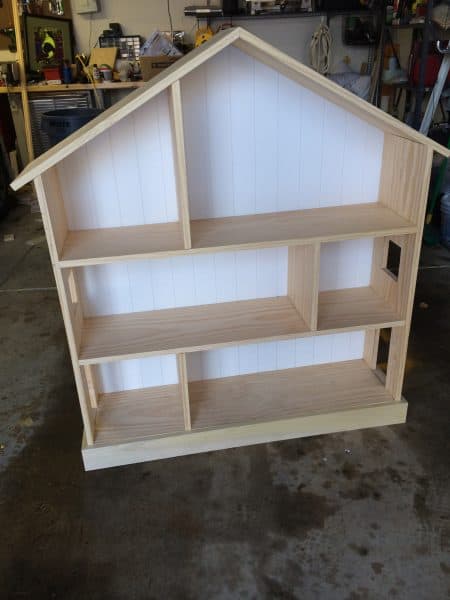
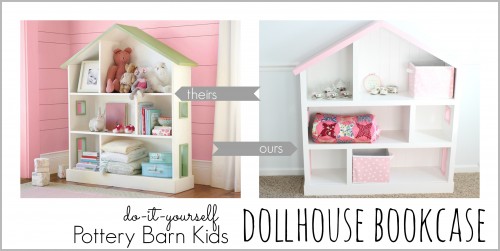
Last week I shared our baby girl’s nursery and promised plans and tutorial for building a dollhouse bookcase. When I was on bed rest and browsing Pinterest to plan a nursery, I found this adorable dollhouse bookcase (inspired by a Pottery Barn version) that I quickly fell in love with. Once we found out we were having a little girl, I begged Prince Charming to create a DIY version of the Dollhouse Bookcase. I found plans on Ana White, which we modified slightly. In total, we spent around $150 on wood and other materials. This is less than half of the Pottery Barn price! We chose to buy real wood for the entire bookcase, but you could easily save much more by using MDF.
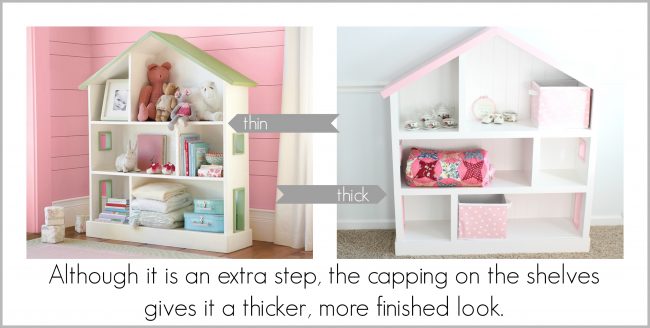
Want to build your own dollhouse bookcase? This version is even better than the Pottery Barn version because it is made with REAL wood and all the edges are capped, giving it a more finished look. We used a beadboard wainscoting for the back, which I prefer.
Okay, let’s get started…
How To Build A Dollhouse Bookcase
Dollhouse Bookcase Plans:
First of all, download the plans for the Dollhouse Bookcase from Ana-White.com.
Supplies For Wooden Doll House:
Next, you’ll need to gather your supplies. In addition to all of the supplies on the shopping list for the plans, you’ll also need:
- Oil-based primer (since you’re painting on bare wood)
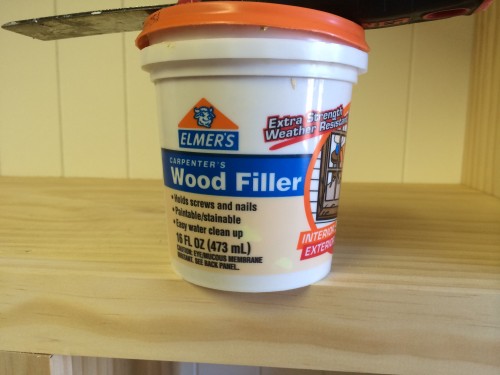
- Elmer’s Carpenter Wood Filler
- moulding and trim caulking
- 1 x 2 moulding
- Beadboard wainscoting (instead of the plywood backing)
Dollhouse Bookcase Instructions:
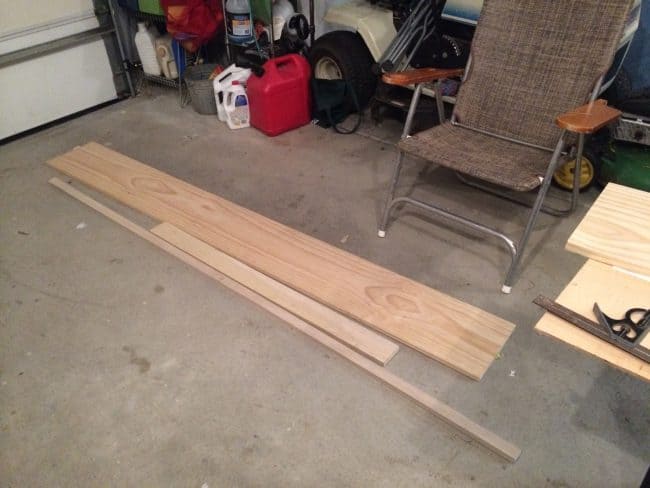
STEP 1. Set out all of your lumber.
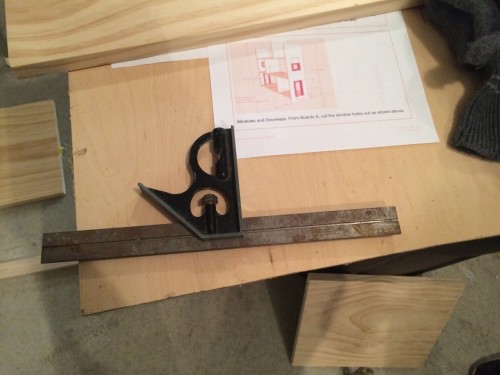
STEP 2. You may want to use a framing square to mark your board prior to cutting.
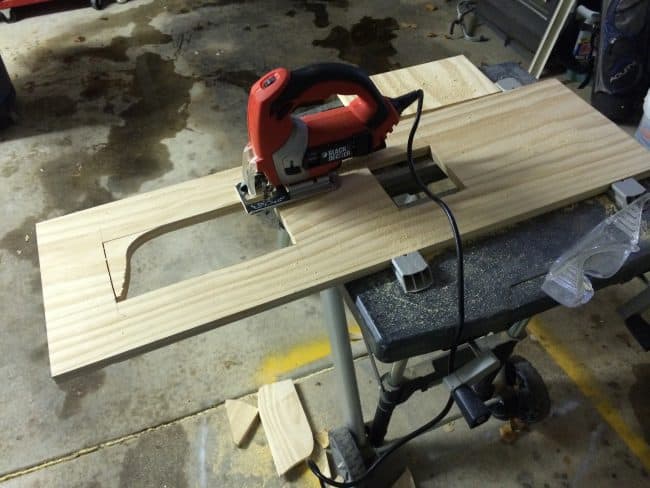
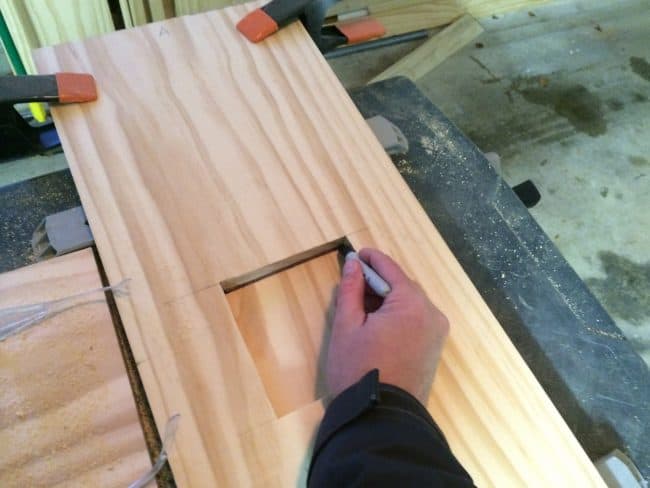
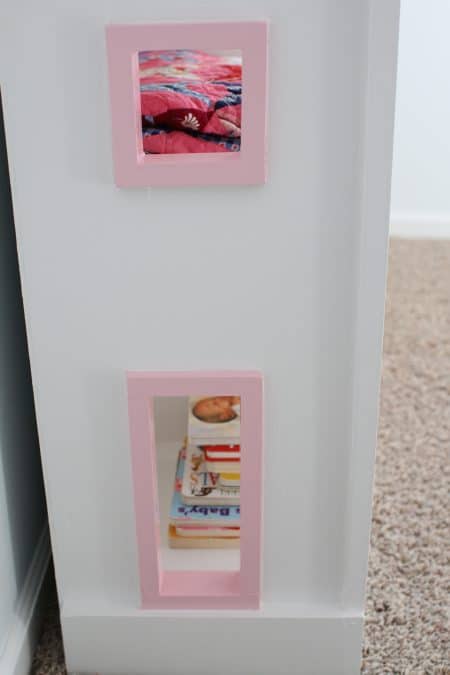
STEP 3. After cutting your lumber, use the plans to outline where to cut the windows. You will use a jigsaw for this.
STEP 4. Match the boards together so that the windows are cut out evenly.
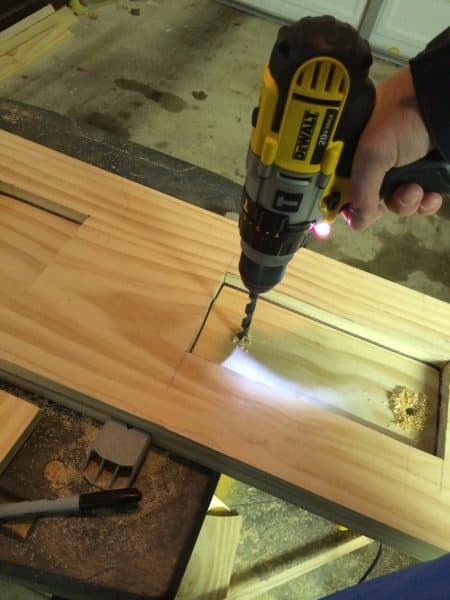
STEP 5. While using the jigsaw, you may want to drill pilot holes for the saw blade to enter.
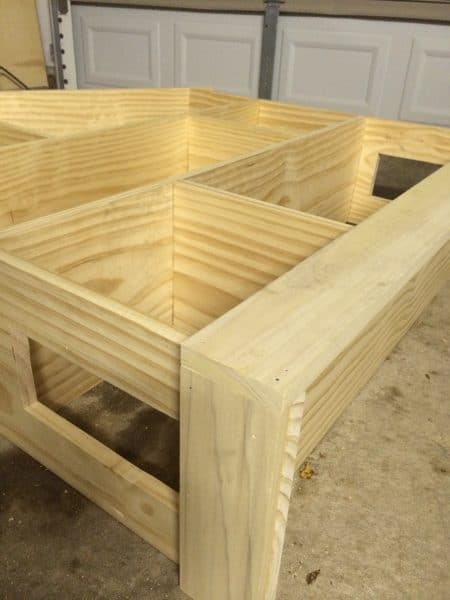
This view shows you how the front baseboard should overlap the side baseboards.
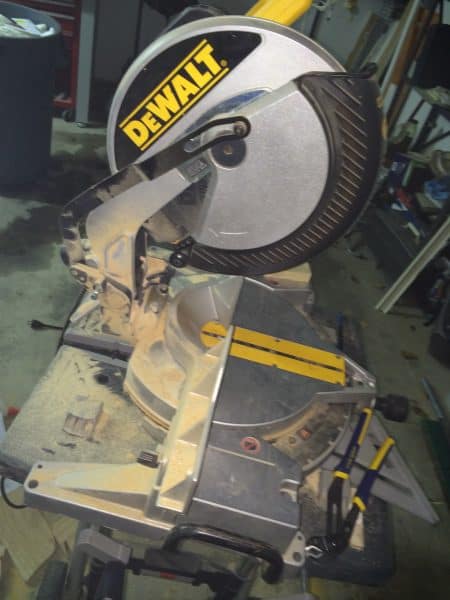
Note: You will use a miter saw, much like this DeWalt version, for the majority of your cuts on this project.
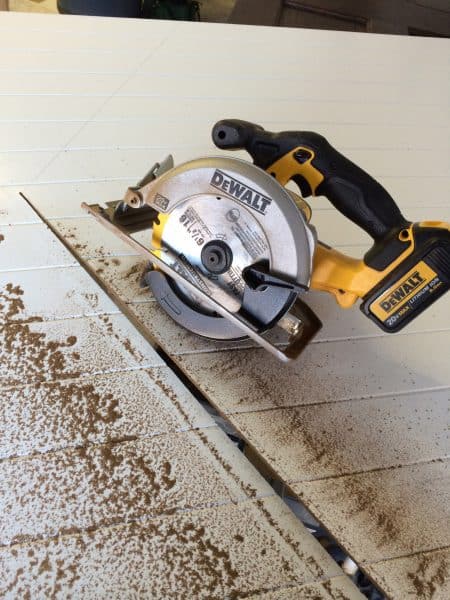
STEP 6. Use a circular saw to cut out the wainscoting backboard. This will allow for a nice straight cut.
STEP 7. After the wainscoting backboard has been cut, apply glue to the backside of each shelf. Then use your nail gun to tack it together.
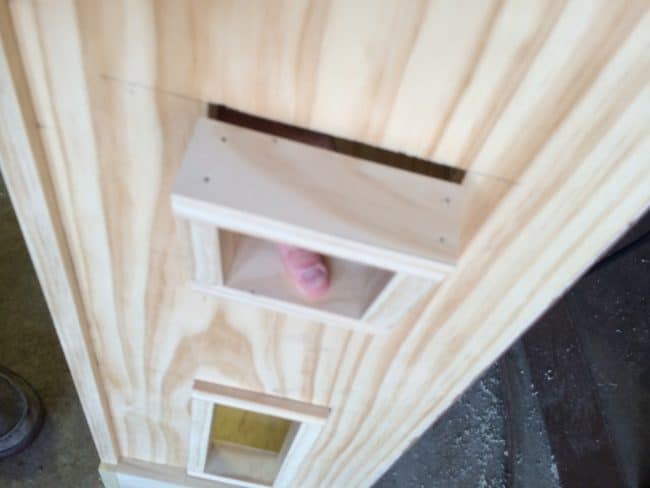
STEP 8. Building the windows can be a bit more tricky. You will want to make sure that these windows fit just right.
As you can see, two nails per side were used to fasten the windows. Once they were nailed together, install them using a nail gun
**STEP 9. This is where our version deviates from Ana White’s plans. To make it appear more finished, we capped all the edges with 1 x 2 moulding. You’ll need to measure each edge to get it exact and then use your nail gun to attach the capping onto each edge.
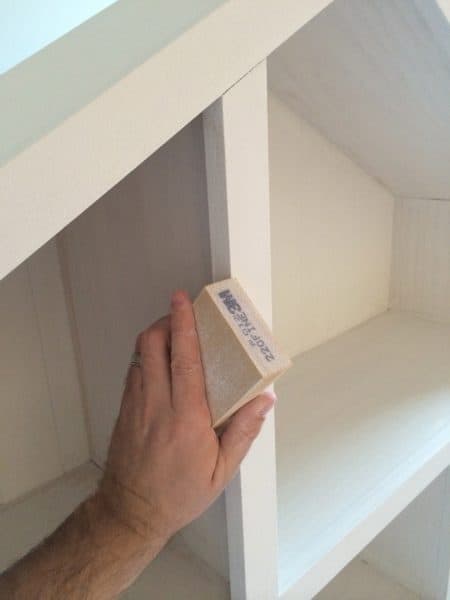
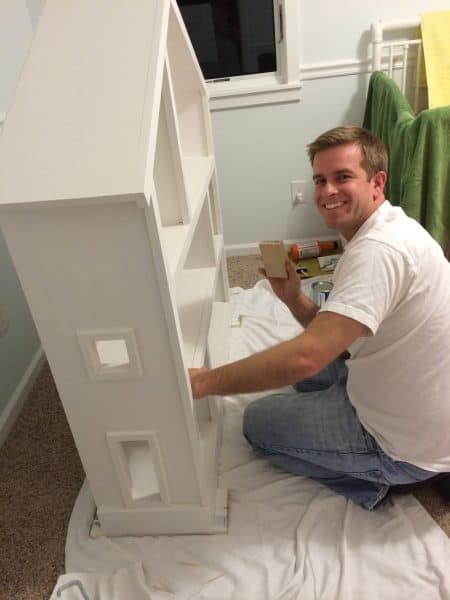
STEP 10. Once you’re done using your nail gun, you will want to go back and set the nails that did not sink below the surface of the wood. Once you’ve countersunk, then you are ready to fill the holes with wood filler. I used regular Elmer’s Carpenter Wood Filler.
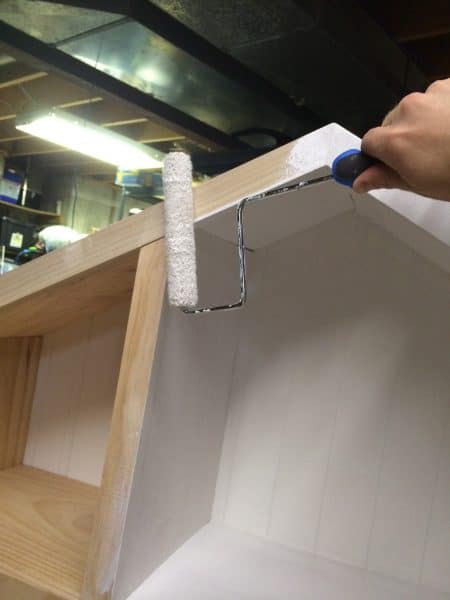
STEP 11. Once you have sanded all of the areas that you filled with wood filler, you are ready to prime. Using a roller, prime all the surfaces with an oil-based primer, since you are priming bare wood. You will definitely want to do this in an area that is well-ventilated, as oil-based primer puts off a strong odor.
STEP 12. Lightly sand all areas after the primer is dry.
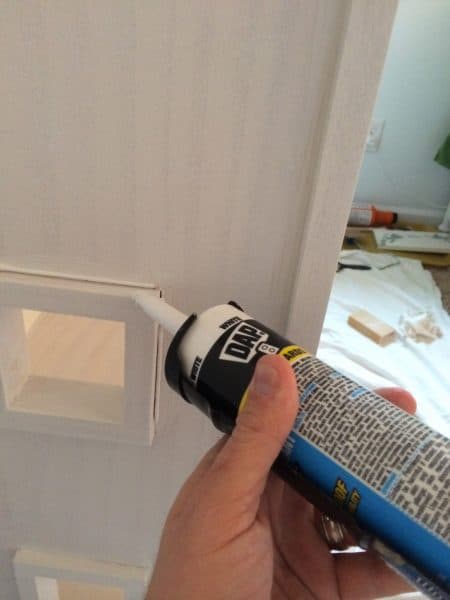
STEP 13. Use molding and trim caulking on all edges to provide a clean look.
STEP 14. Apply the first coat of paint. Let it dry, sand and apply a second coat of paint.
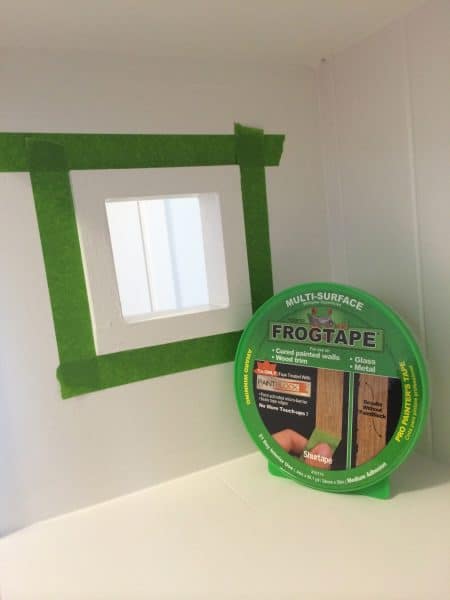
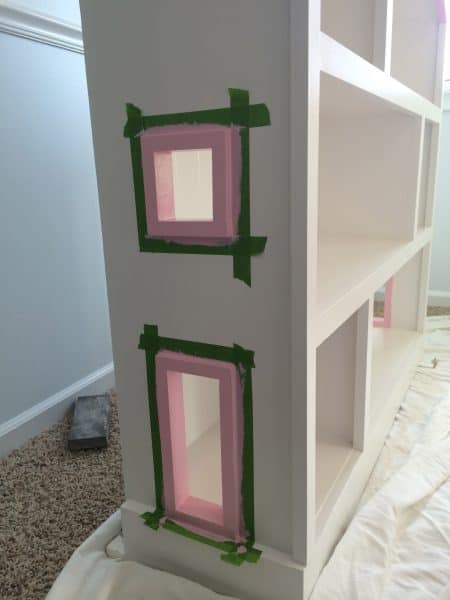
STEP 15. Apply painters tape to the areas around the windows and doors of the dollhouse bookshelf.
Then you’ll be able to paint a different color on the windows and rooftop.
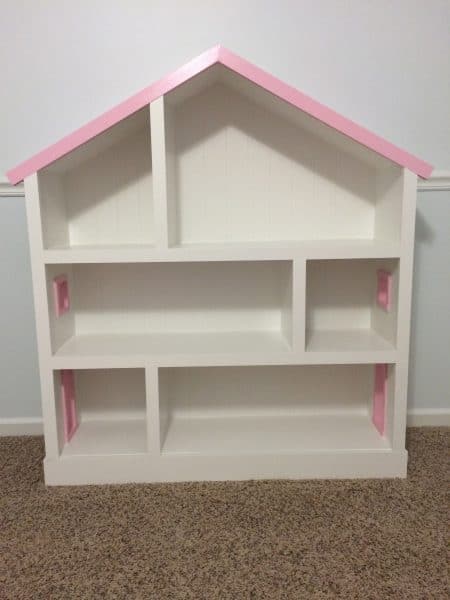
Allow to dry and enjoy the finished product! :)
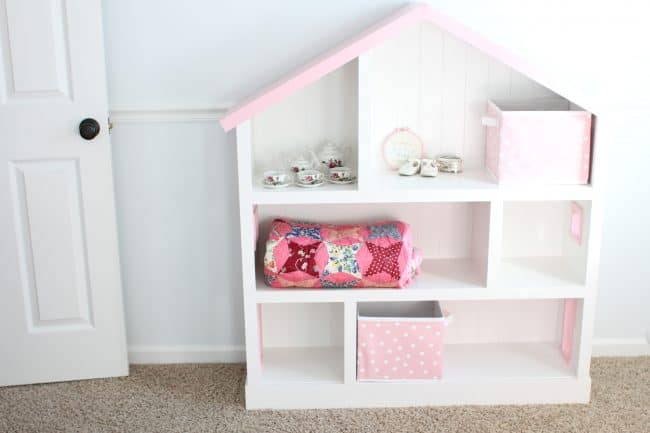
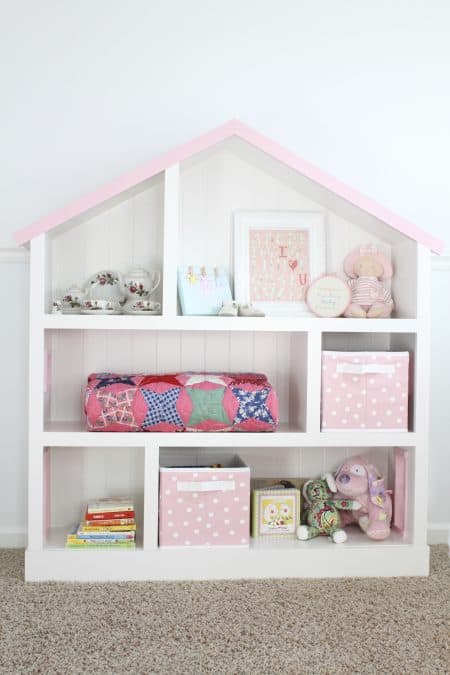
Our Completed Dollhouse Bookshelf…
I am in love. I wish I had one of these. :)
Click here for more fun ideas for a girls bedroom or nursery:
7 Tips For Moving Your Child Into A Big Bed
Train Table To LEGO Table Conversion
Tips for Organizing Girls Bows and Headbands





Love it!! You guys did an excellent job! Thank you for posting the tutorial! My husband is going to make one for our daughter’s first birthday in March.
This is awesome! I thank you but my husband does not since I will be asking him to make one for my girls. LOL!
Wow! That is beautiful! You’re lucky to have such a handy husband. :-) As the mom of 4 boys, I can’t help but to be a bit envious of the fact you are having a little girl. So excited for you and your family! Congrats!
Thank you! As much as I have loved decorating my boys’ rooms, it has been fun (and different)! :) And I am very blessed to have a handy husband…it is one of his many gifts!
Would you mind sharing the exact paint colors/brand that you used? They are absolutely perfect!
The white paint is Sherwin Williams “Snowbound” in an enamel paint (it was leftover from when the dresser was painted).
The pink paint is Valspar that we bought at Lowes in semigloss. I’ll have to get back to you on the color… :)
Thank you so much for posting this!!! I was trying to find one of these on Kijiji, but even then, an older version was $275…and I like yours so much more! <3
Love this! I’m having my husband make this for our little girls room! Do you know a guess on how much it cost in the end? Thanks so much!
Do you know the pink color??