Rainbow Mosaic
I love using paint samples for learning activities! They are a great resource for teaching colors (and shades of various colors) and best of all, they’re free. Just don’t go overboard…Lowe’s, Home Depot, and Benjamin Moore might not like that very much! This rainbow mosaic was made using paint samples cut into small pieces.

Here’s what you’ll need: paint samples (in red, yellow, blue, green, purple), scissors, a piece of white cardstock or construction paper, crayons, and a glue stick.

 |
| 1. Draw a rainbow shape on your piece of cardstock. Write the color name in each section. |
 |
| 2. Cut the paint samples into pieces small enough to fit in each colored section of the rainbow. |
 |
| 3. Let your little one use the glue stick, one colored section at a time. |
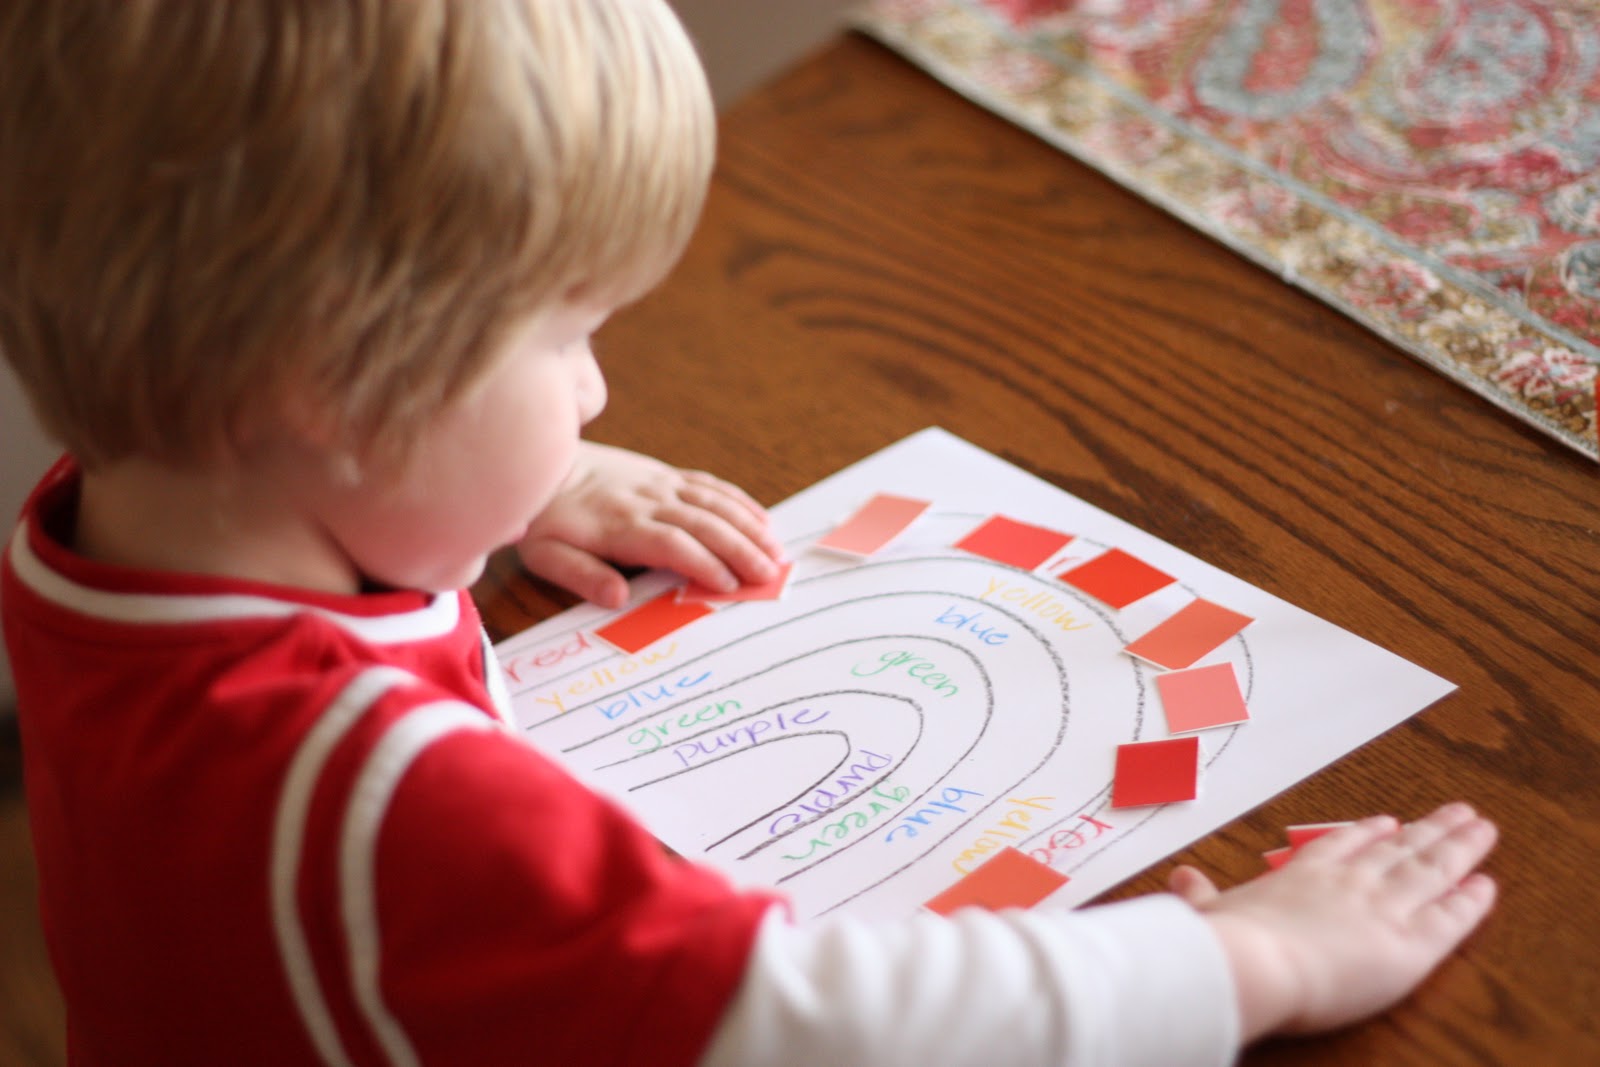 |
| 4. Encourage him/her to place the pieces on the appropriate section of the rainbow! |

You could also put the cut paint chips together in a bowl and have your child sort the paint chips before gluing them on. I thought of this after the fact, so we didn’t get to do this step.
And here is a rainbow fan made from paint samples we made last summer!


Another great idea! I will be using this next time we visit Home Depot ;) We usually grab the samples that have holes already punched in the sides, tie them together with string and use it for a color learning toy. Thanks for a new take on ways to use free products.