Apple Art with Washi Tape


Here’s what you’ll need:
2 Pieces of Cardstock Paper
Red Washi Tape in a variety of patterns
Scissors
Glue stick
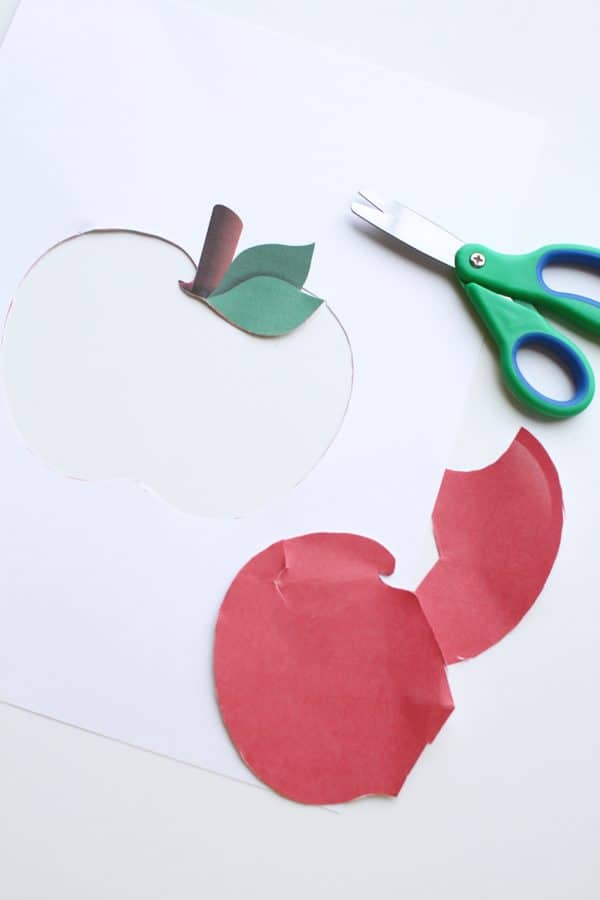
1. Print out the apple printable on one piece of cardstock and then carefully cut only the inside of the apple out (everything that is red). The easiest way is to fold the paper slightly (without leaving a crease) and then snip the inside. Once you’ve made a cut in the center, make your way around the edges until it is all cut out.
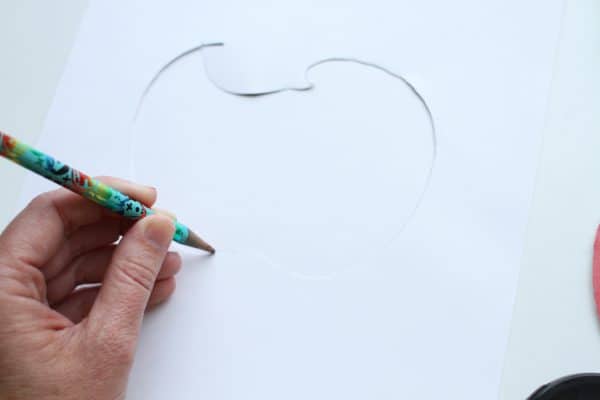
2. Flip over the paper with the apple cut out and use a pencil to trace the outline onto the second sheet of cardstock paper.

It’s ready for some washi!
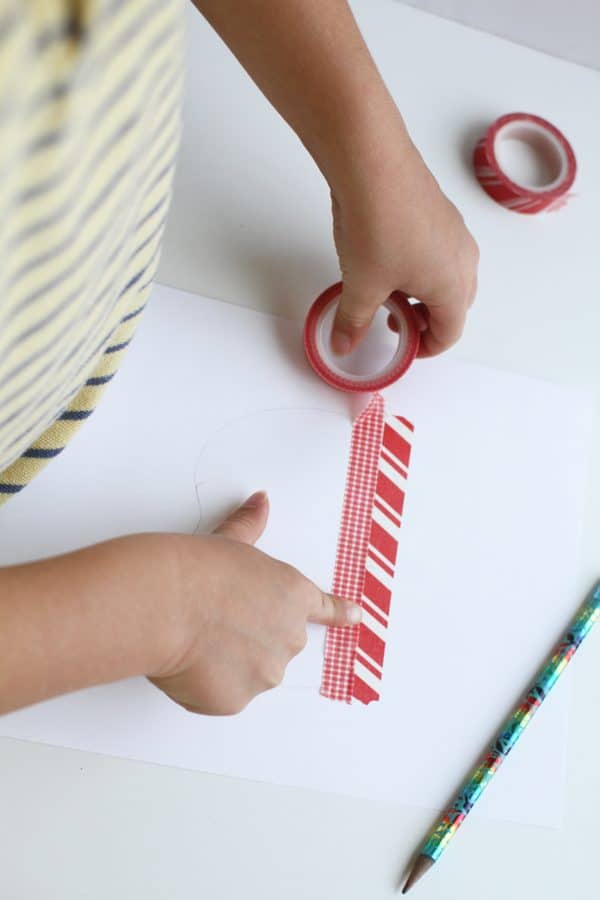
3. Have your child cover the apple outline with red washi tape in a variety of patterns.
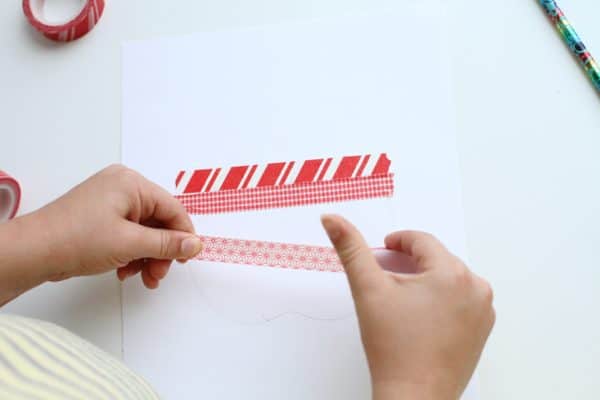

All done with the tape!

4. Lay the paper with the apple hole on top of the paper with washi tape and secure together with a glue stick.
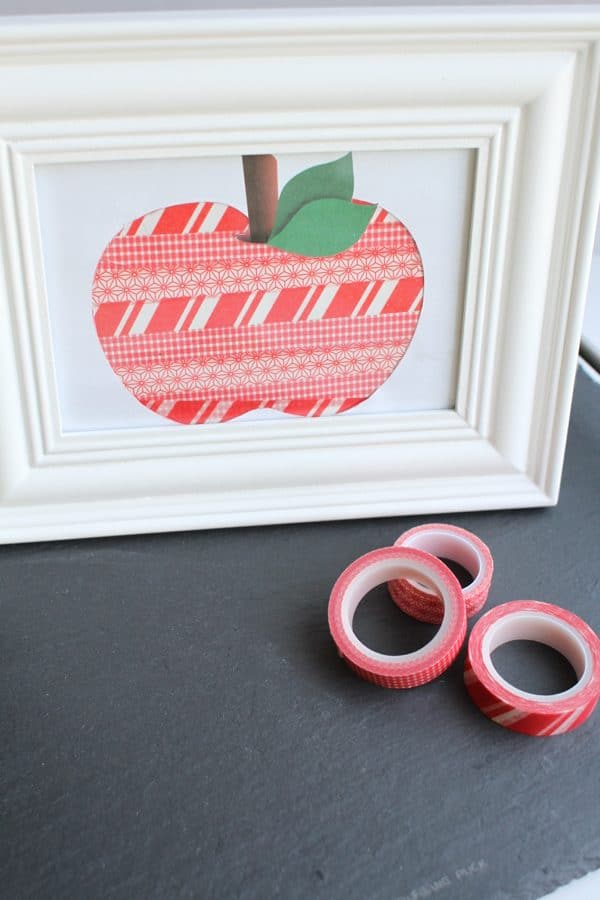
5. Cut to fit your frame. Enjoy this apple art in your home or give it to your favorite teacher!
Check out more apple activities here.