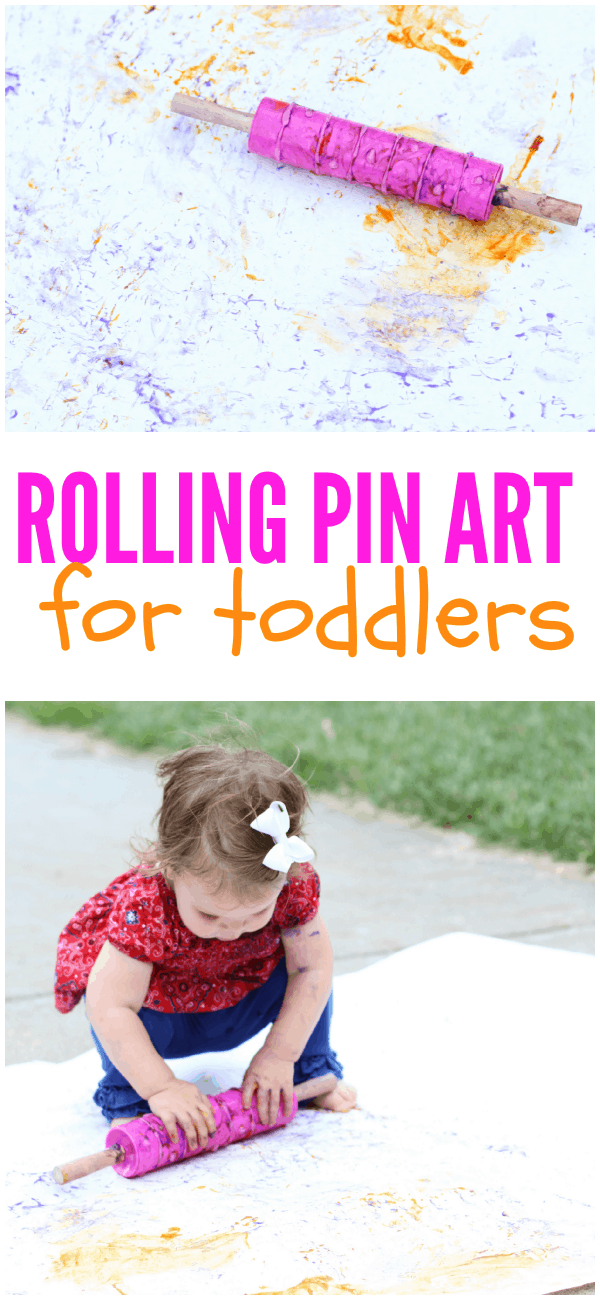
Rolling Pin Art for Toddlers

Creativity at our house majorly suffers during the winter months, mainly because I don’t want to clean up big giant messes in my house (I know, I know, I’m horrible). Thank goodness that with warmer weather comes more creative projects…which can easily be washed away with just rain or the water hose.
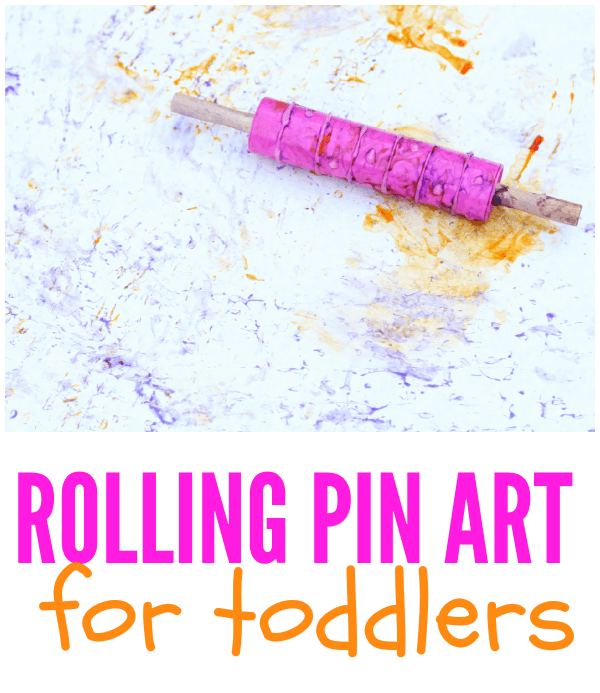
Little Sister created her first “big art” using a rolling pin and finger paint for Day #4 of our A Very Toddler Summer series we are co-hosting with Toddler Approved. Our rolling pin art for toddlers was definitely a messy hit!
Here’s what you’ll need: a rolling pin, washable paint, a shallow pan, and white butcher paper. Optional: a hot glue gun.
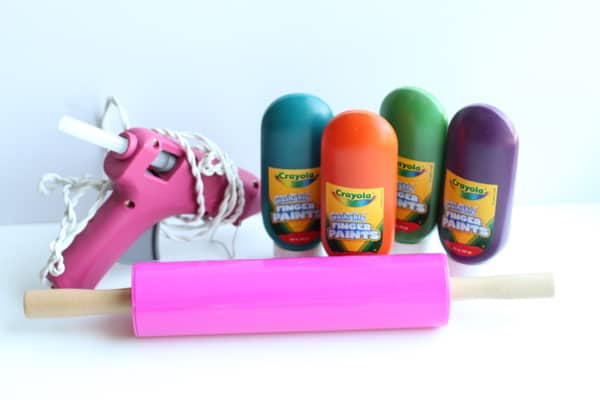
We used Crayola Washable Finger Paint, but I would actually suggest using just a normal washable paint because as the finger paint was more like a gel and didn’t spread easily.
I also suggest wearing “play clothes” or a swimsuit. We just got back from a baseball game when we did this activity, so Little Sister was already a sticky/yucky mess. The paint came out just fine from her clothes, but you never know.
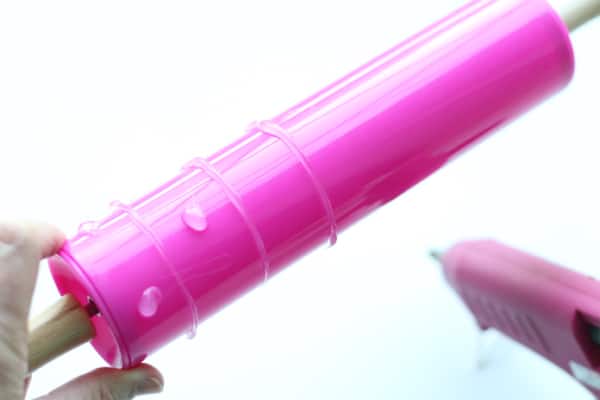
1. Optional: Use the hot glue gun to make a design on your rolling pin. This didn’t work quite as well as I anticipated, but it still came out okay.
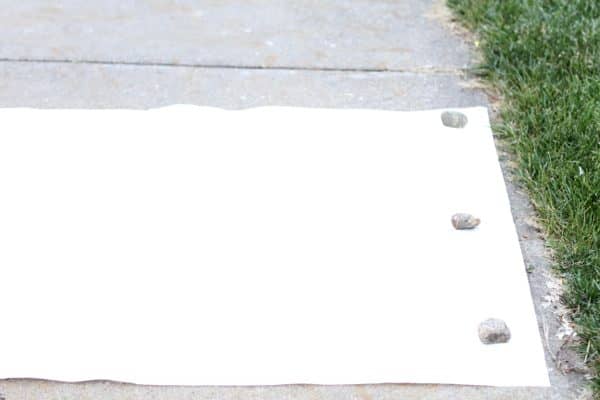
2. Lay a piece of butcher paper outside and hold down with rocks.
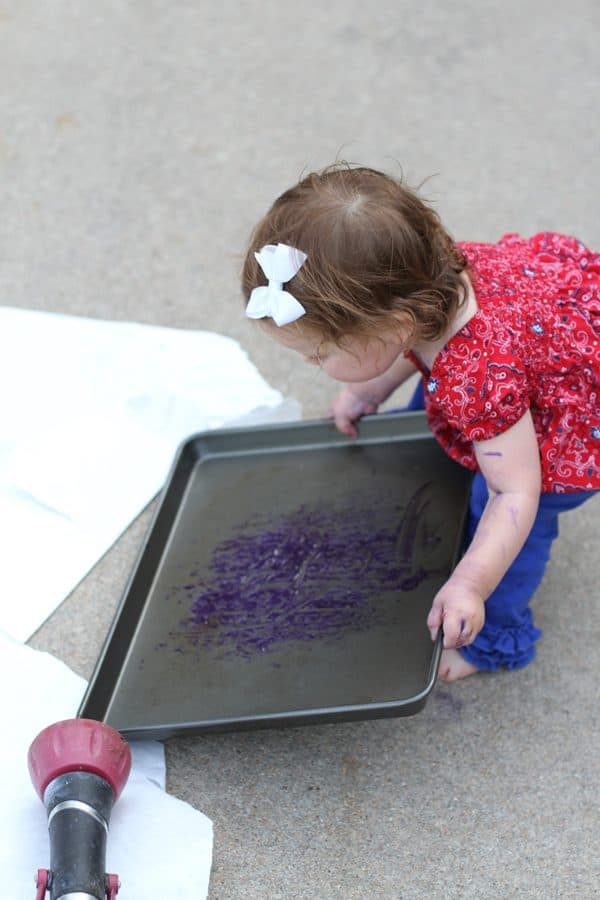
3. Spread some washable paint in your shallow pan and let your child roll the rolling pin in it.

Little Miss, of course, had to get it all over herself. :)

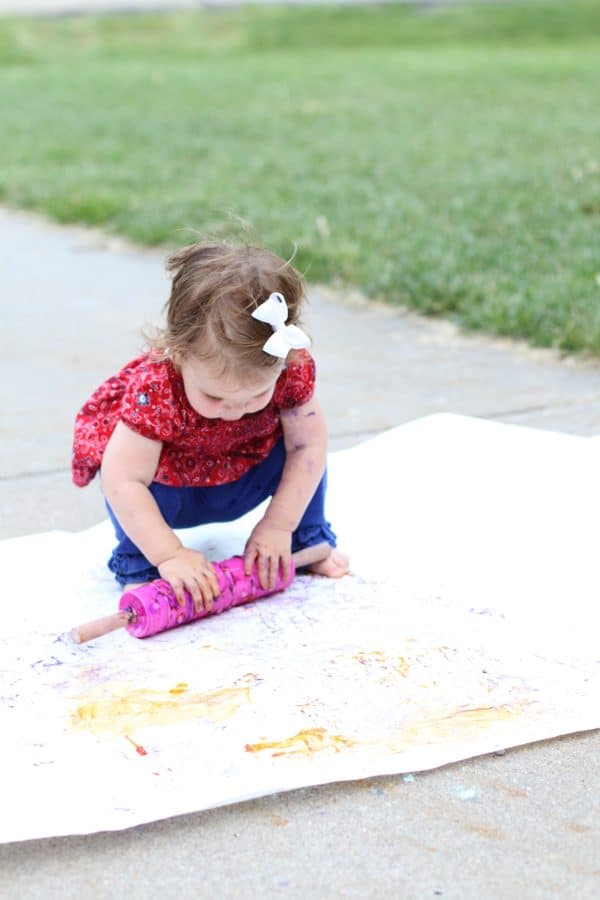
She didn’t like holding the rolling pin by the handles, she wanted to roll it on the center.

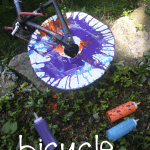
The final Masterpiece. :)
Don’t forget to follow both Toddler Approved and I Can Teach My Child on Facebook and on Instagram. Kristina is @kristinatoddlerapproved and I am @jenaeteach.
And be sure to check out all of our toddler activities here: