Take Your Own Professional-Looking Cake Smash Pictures at Your Baby’s Birthday Party

We just celebrated Little Sister’s first birthday! We had a sweetheart party for our little sweetheart on Valentines Day with both of our families. It was lovely.
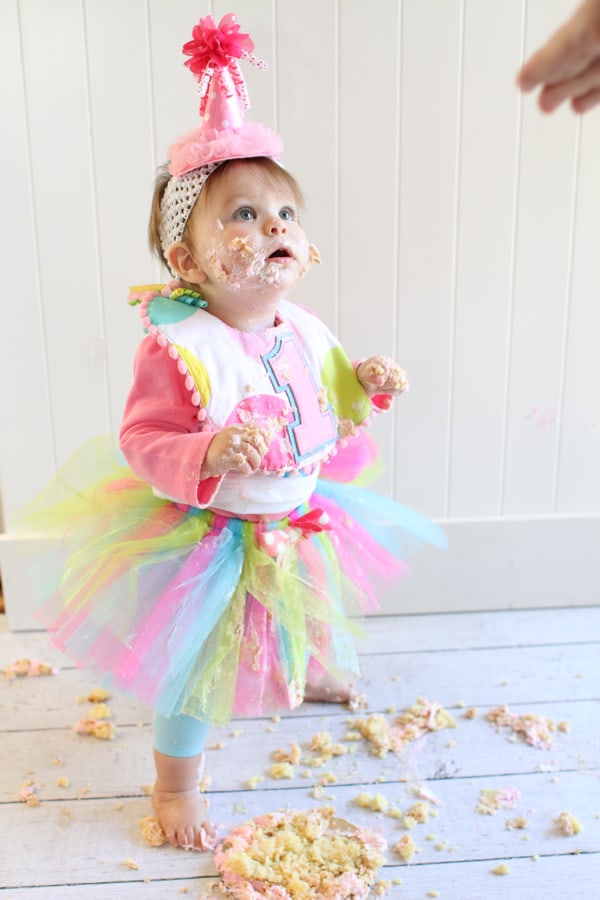
I have always loved the look of professional cake smash photos, but felt that it is a little unnecessary when kiddos normally have cake at their birthday party too. We decided to combine the two together and just have her eat her cake at her birthday party! We made a mini homemade studio and had our family gather round for the fun event! :)
1) Have your party during the day. We chose to have Little Sister’s birthday party at 10:30 am. It worked out perfectly as we served brunch and we were able to wake her up from her morning nap once our family arrived so she was well-rested. There was also plenty of sunlight, which will have a dramatic effect on the photos.
2) Find the light. Find an open area in your home (or wherever you have the party) with lots of windows. Or if the weather is nice, go outside! All of our babies were born in the winter months, so we didn’t have that option. The place where we chose to do Little Sister’s cake smash was in our living room with lots of windows but no direct sunlight.
If you are doing it in a room with direct sunlight, you can use a cheap white shower curtain liner to diffuse the light.

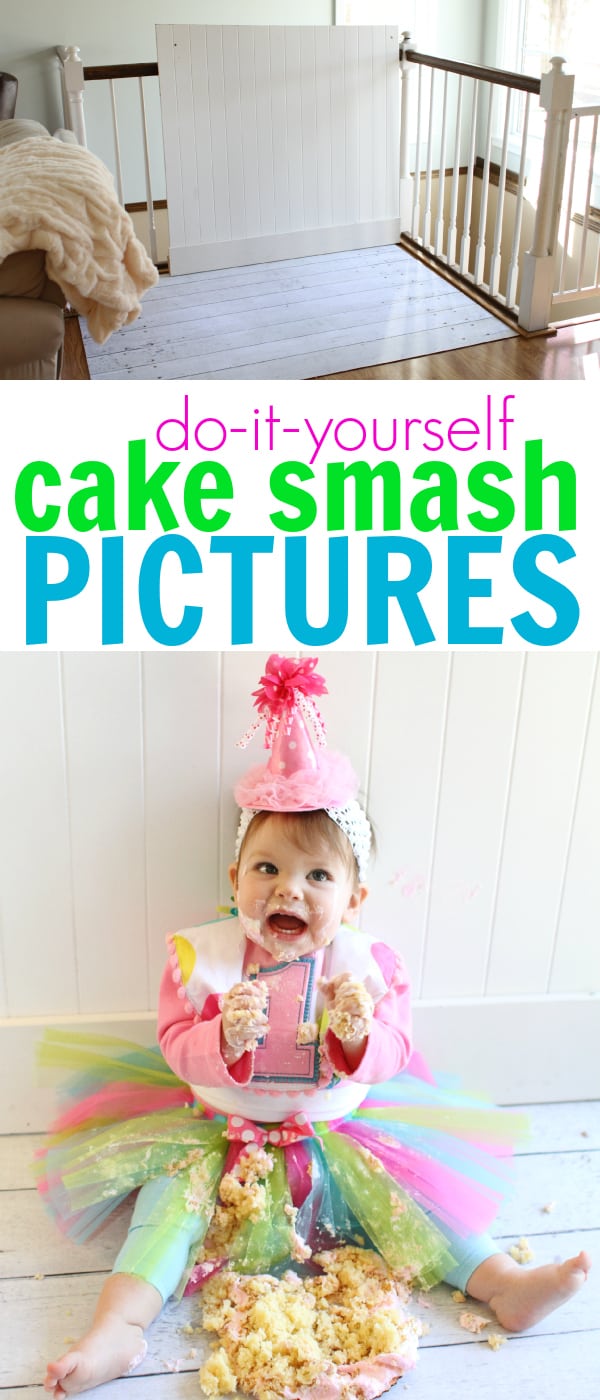
3) Make your own backdrop. My husband used some beadboard from the dollhouse bookcase he made last year and old trim from another home project to make a backdrop. We secured the back of it to the stairs with some rope and screws. It literally took about 20 minutes from start to finish. Due to time limitations (and sheer laziness), we chose not to paint and dealt with the scuffs on the beadboard and trim.
I also purchased a drop mat that looked like a barn floor that I am already planning to use for a variety of purposes (including photos for the blog).
4) Turn off your flash. Depending on the lighting, this might be a little tricky. If you have a DSLR, you’ll need to turn your camera off of AUTO (I know, it can be scary). If you have to use a flash, consider using an external flash (I have this one) or at least a flash bouncer.
5) Make sure people are not standing in front of your light source. I didn’t do a very good job of this and we had some shadows in our pictures from people standing between the window and Little Sister. I’m not the bossy type, but I might gently ask people to stand to one side :)
6) Start snapping!


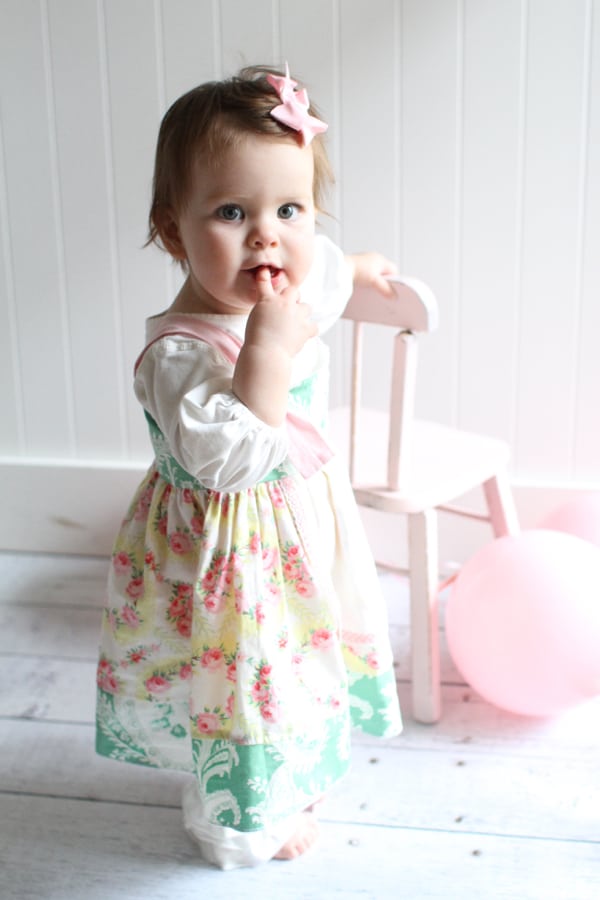
After you’re done cleaning up, utilize your mini studio to take some photos not involving a cake! :)
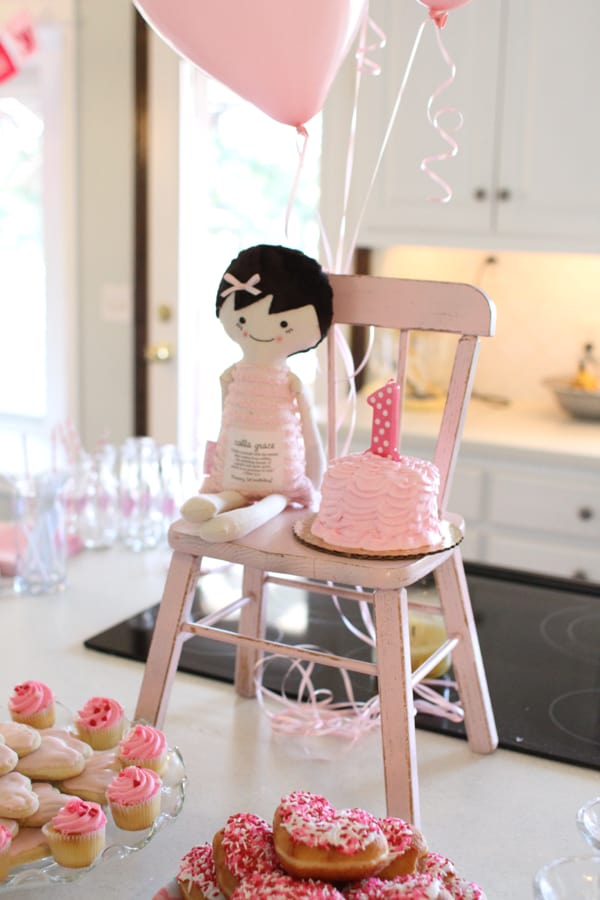
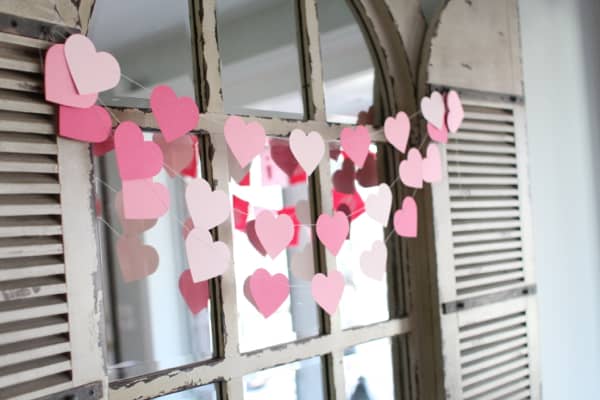
Here are some other pictures from Little Sister’s birthday. We just had our families, so it wasn’t anything fancy but we had a great time!


Neat idea. And that is a beautiful party.
Thanks for the tips!! Sweet party. Can you tell me about the doll on the chair beside the cake. Does it have her name on it? I would love to get one for my little lady.
Thanks
Yes, they are called Baby Be Blessed Dolls. It has her name and a scripture. :) http://www.babybeblesseddolls.com