Bouncy Egg Experiment Have you ever seen a raw egg bounce? How about seeing the yolk of an egg while looking at it from the outside? No, you don’t need x-ray vision or superpowers… You just need to try out…
Ice Cream is a quintessential part of summer! But it also makes for a great (and delicious) science experiment… No fancy machine or cranking required! This ‘recipe’ was adapted from Steve Spangler Science. How To Make Ice Cream In A…
What is Oobleck? If you’ve never had any experience with Cornstarch Slime or Goop (or what I call Oobleck from Dr. Seuss’ book Bartholomew and the Oobleck), it is really strange. If you move slowly or hold it still, it…
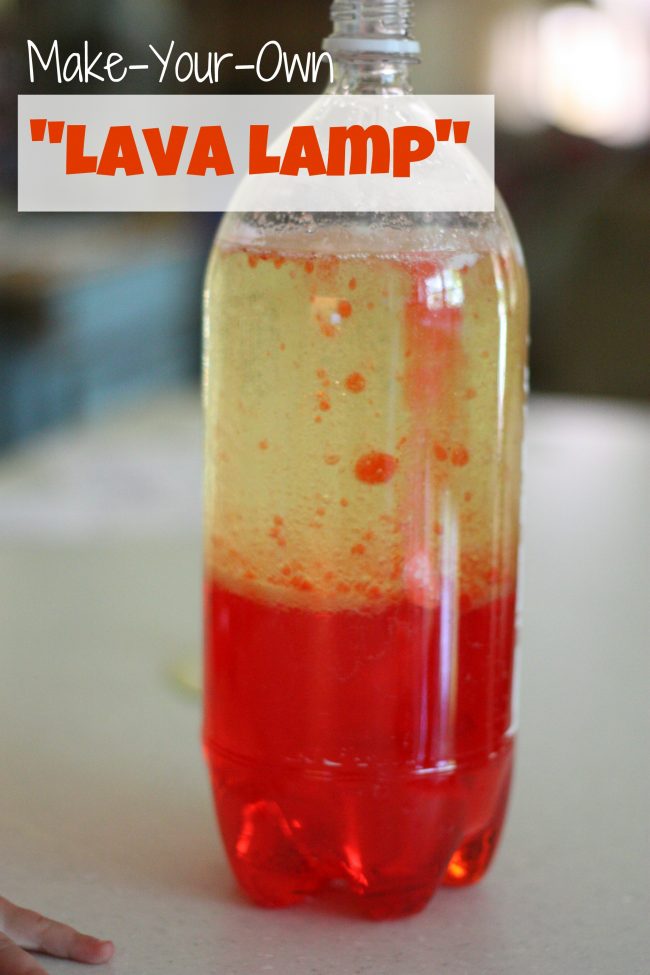
Yet another fun and exciting science experiment from our Fascinating Science for Kids eBook ! This post was inspired by The Recipe Room, Mom to 2 Posh Lil Divas, and Steve Spangler Science. Just so you are not confused, this is…
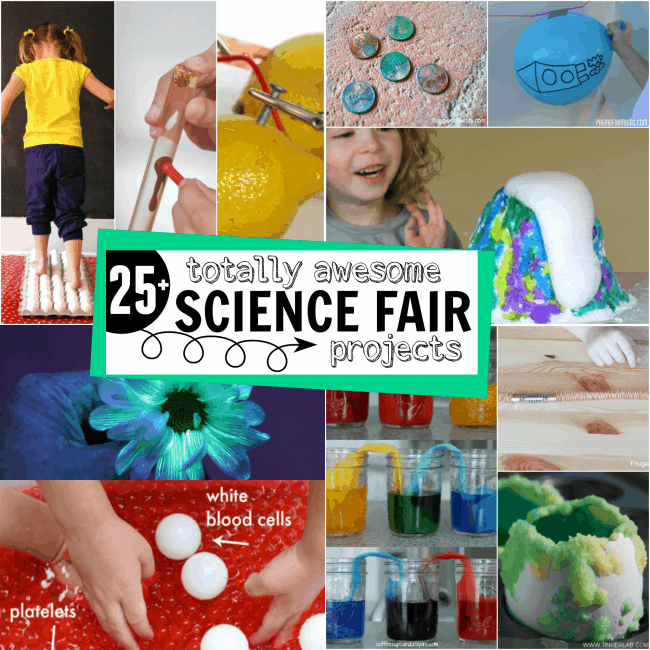
‘Tis the season for science fair projects! We had our first science fair experience last year when my oldest son was in kindergarten. I was truly amazed (and overwhelmed) at the complexity of some of the kindergarten science fair…
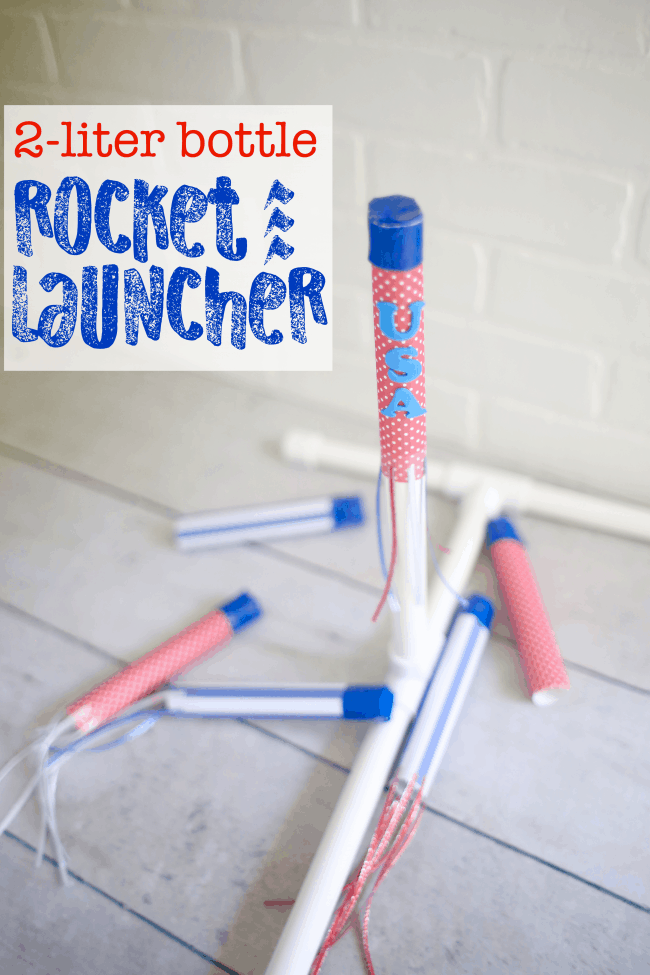
It’s Day 4 of our “A Very Toddler Fourth” series we are co-hosting with Kristina from Toddler Approved. Our DIY Rocket Launcher might be my favorite activity of the year! These rockets shoot much higher than I expected…
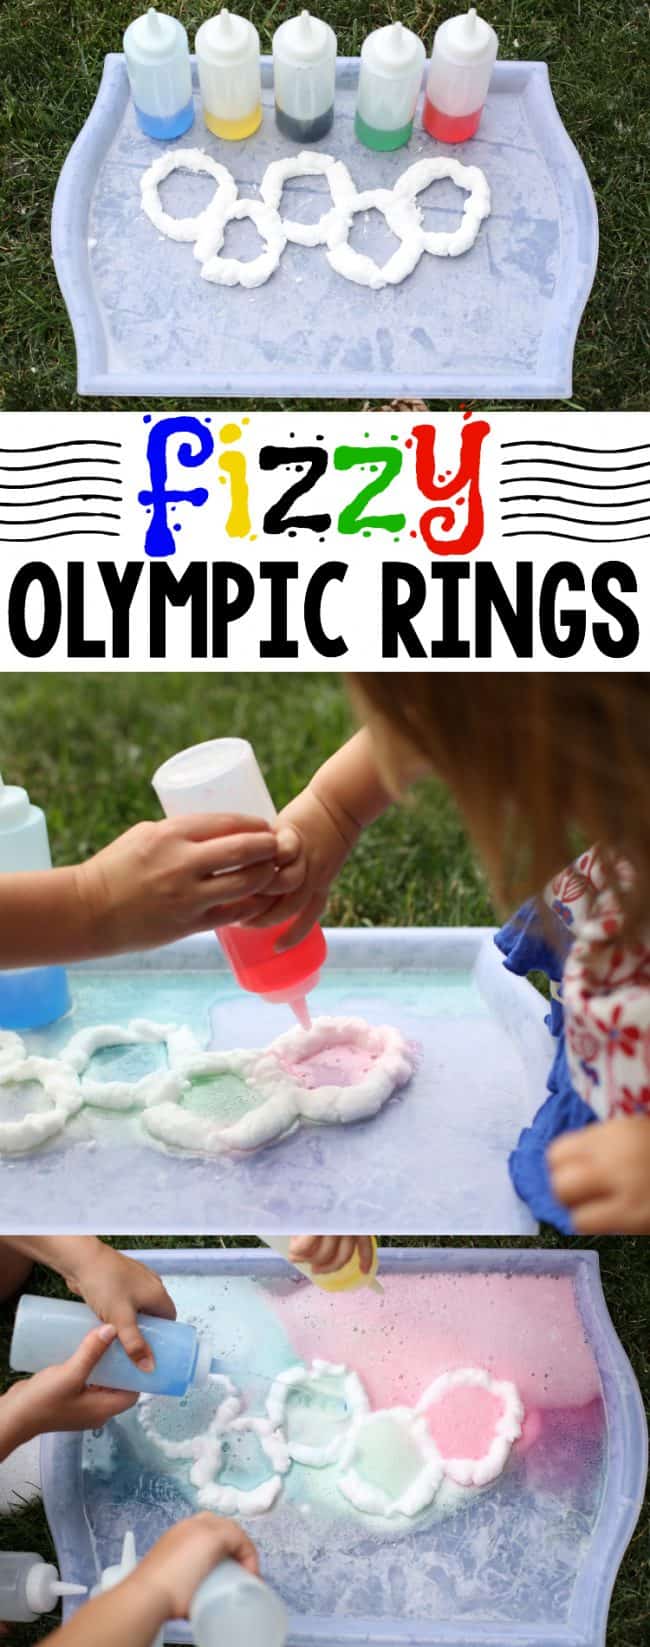
If the sheer amount of Olympic posts I have on this blog isn’t an indicator of how much I love the Olympics, I am not sure what is! A few weeks ago we participated in “A Very Toddler Olympics”…
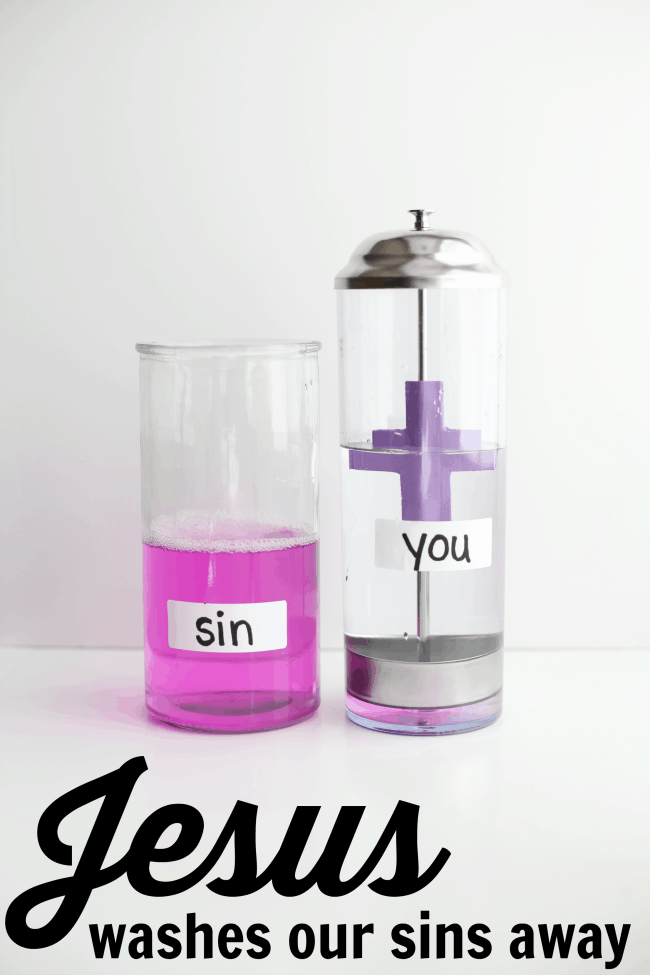
Last year in one of our Sunday School classes, one of the teachers showed us a demonstration very similar to this one. Not only did I think it was amazing from a science perspective, I also thought it was…
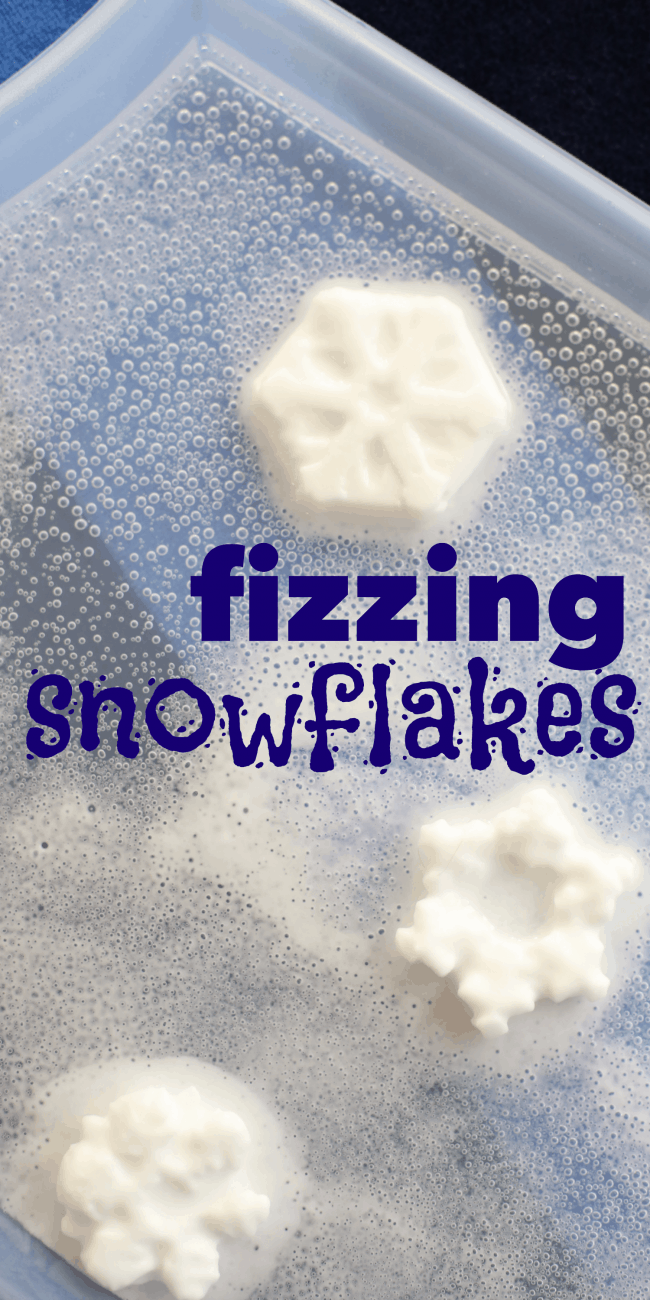
For Day 18 of our 31 Days of Indoor Fun for Toddlers series we decided to try a little toddler chemistry. This Fizzing Snowflakes activity is simply a frozen version of the reaction between baking soda and vinegar…but when you…
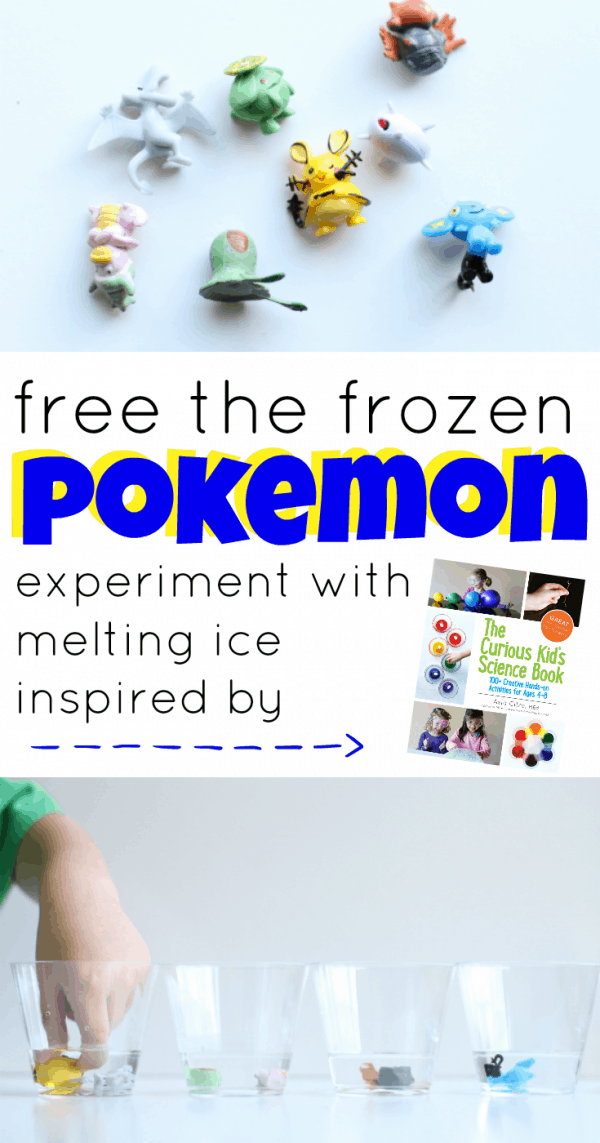
Disclosure: I was sent a free copy of this book in exchange for my review. My boys are currently obsessed with Pokemon. Over the last few years their obsessions have migrated from Veggie Tales to Angry Birds, then from…
We put a fall spin on our classic Oobleck experiment for this fun sensory experience! Little Brother enjoyed the texture of our Pumpkin Oobleck, but Little Sister wouldn’t even get close to it! If you are not familiar with…
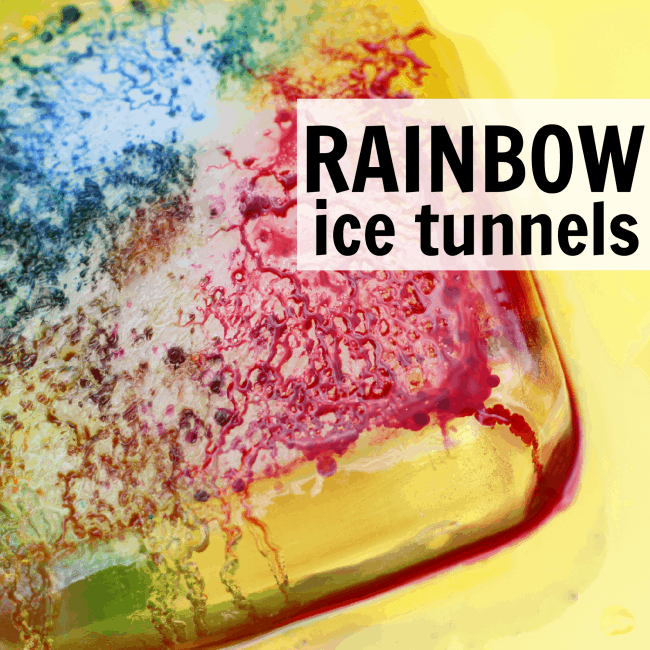
Creating these Rainbow Ice Tunnels has been one of the neatest projects we’ve done in a while. It is the perfect blend of science and art…and it kept the boys occupied for well over an hour! I first…
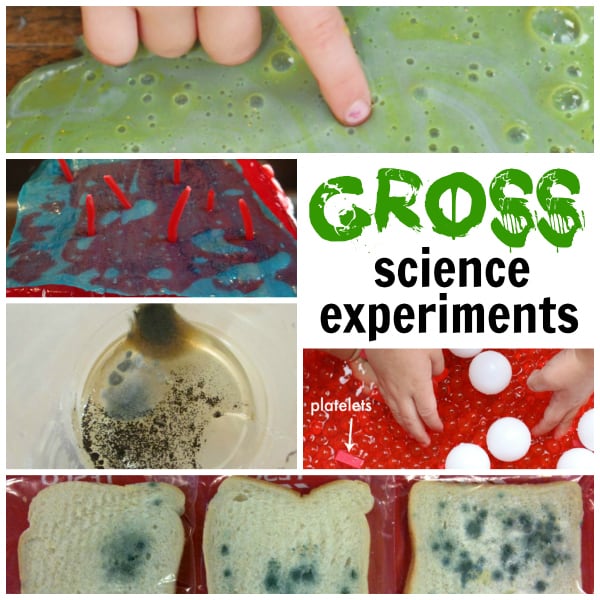
Do you have a child who gravitates toward things that are gross? Or perhaps you would like to pique your child’s interest in science ? We’ve rounded up the grossest, most disgusting science experiments we could find! These experiments definitely aren’t for the…
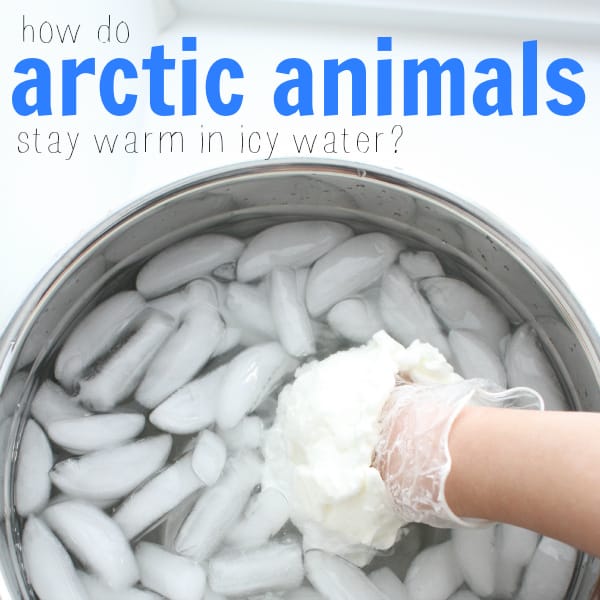
Winter is always a fun time to talk about arctic animals. I absolutely loved this idea from Discover and Learn Preschool for exploring how arctic animals stay warm in icy water! Animals like walruses, seals, and polar bears all…
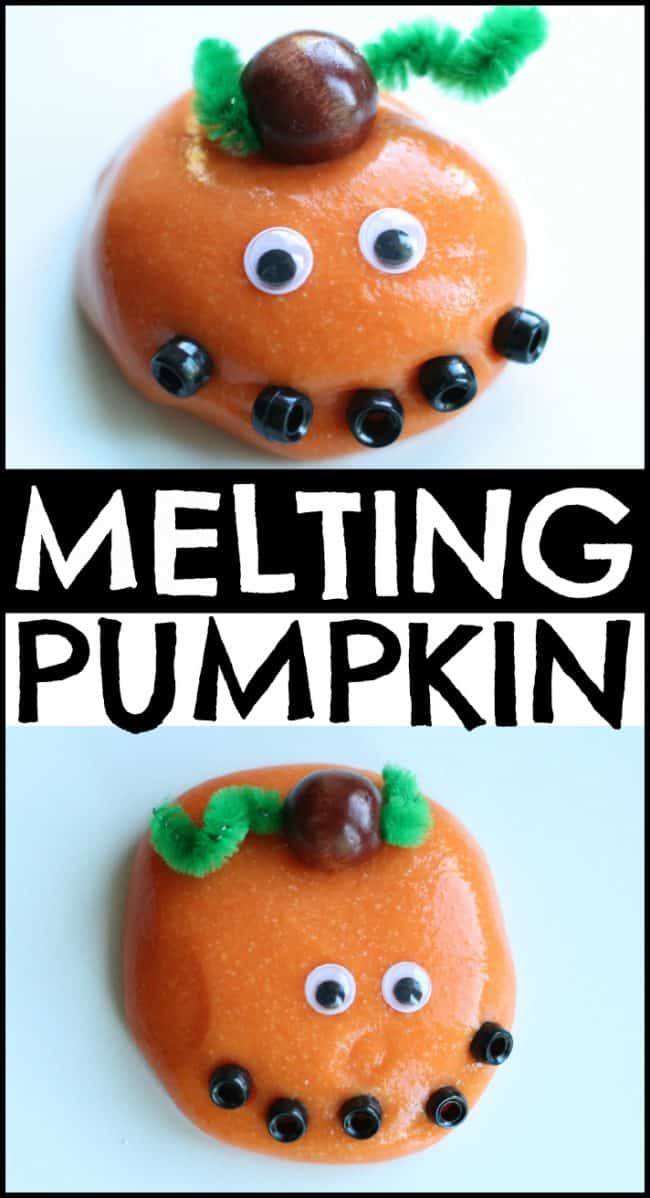
We made homemade silly putty this week and created our own melting pumpkins! This was also a great time to discuss the 3 different states of matter (solid, liquid, and gas) and point out that silly putty is neither one! I am…
This is a super-fun Halloween twist on our Fizzy Balloons experiment. It has been quite a while since we have done this experiment, so the boys had a great time watching the chemical reaction “magically” inflate the Jack-O-Lantern balloon….
Big Brother had his first science fair this past week! He is still very interested in learning about outer space, so he chose (with a little direction) to do his science fair project answering the question, “Why are there…
Guest Post by Max Cooper Experiments featuring vegetables and fruit are a great way to get kids interested in science. By using these everyday edibles to demonstrate scientific reactions, you can spark kids’ imaginations and start them questioning how…