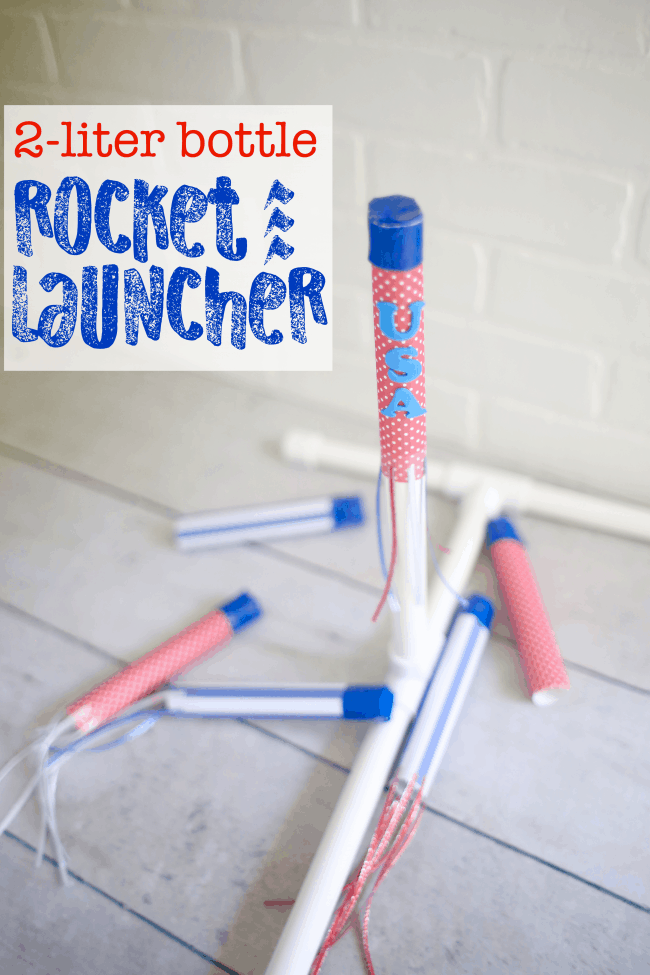
It’s Day 4 of our “A Very Toddler Fourth” series we are co-hosting with Kristina from Toddler Approved. Our DIY Rocket Launcher might be my favorite activity of the year! These rockets shoot much higher than I expected…
It’s the last day of our “A Very Toddler Olympics” series we are co-hosting with Kristina from Toddler Approved. It has been such a fun week and it makes me super excited to watch the Olympics in August!…
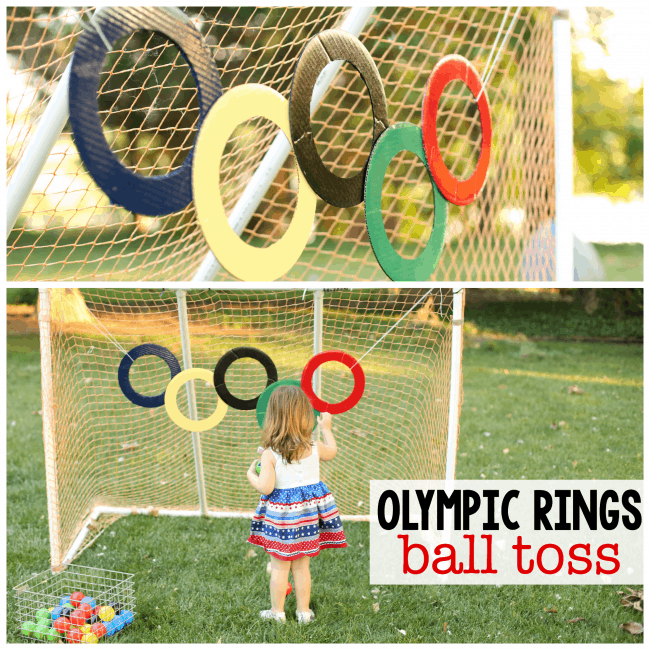
Today is our first day of our “A Very Toddler Olympics” series I am co-hosting along with Kristina from Toddler Approved! To kick off this series, we chose to do this Olympic Rings Ball Toss. This activity is great for…
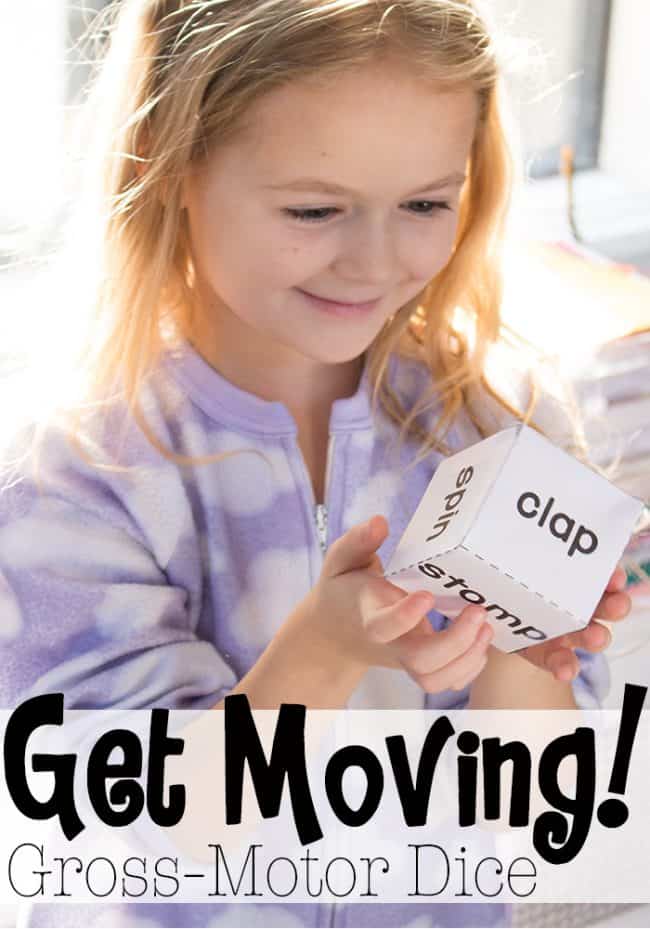
Post by contributing writer Kim of Life Over C’s Do you need an activity that will get the kids up and moving? Is the cold winter weather making you want to hide under the blankets and hibernate until the spring…
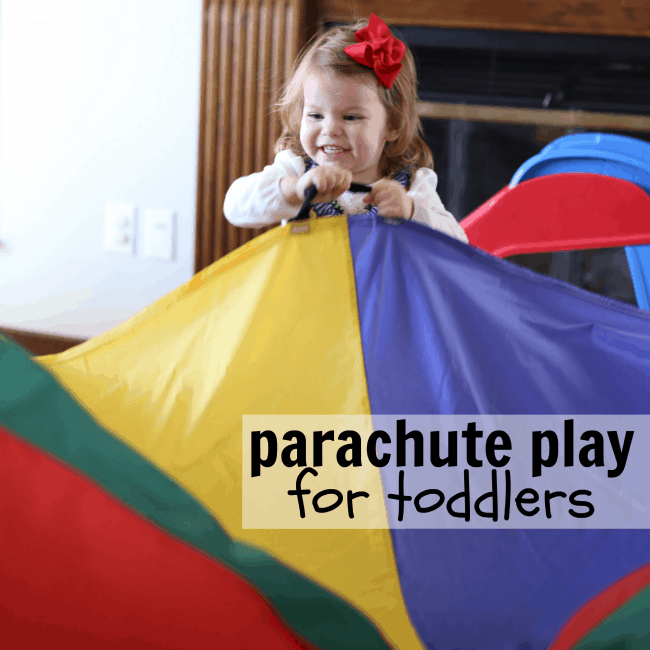
Years ago I bought this 6-foot parachute to use both at home and when I was teaching the 2 and 3-year olds at church. Until recently when Little Sister discovered it, this parachute had gotten little use at home….
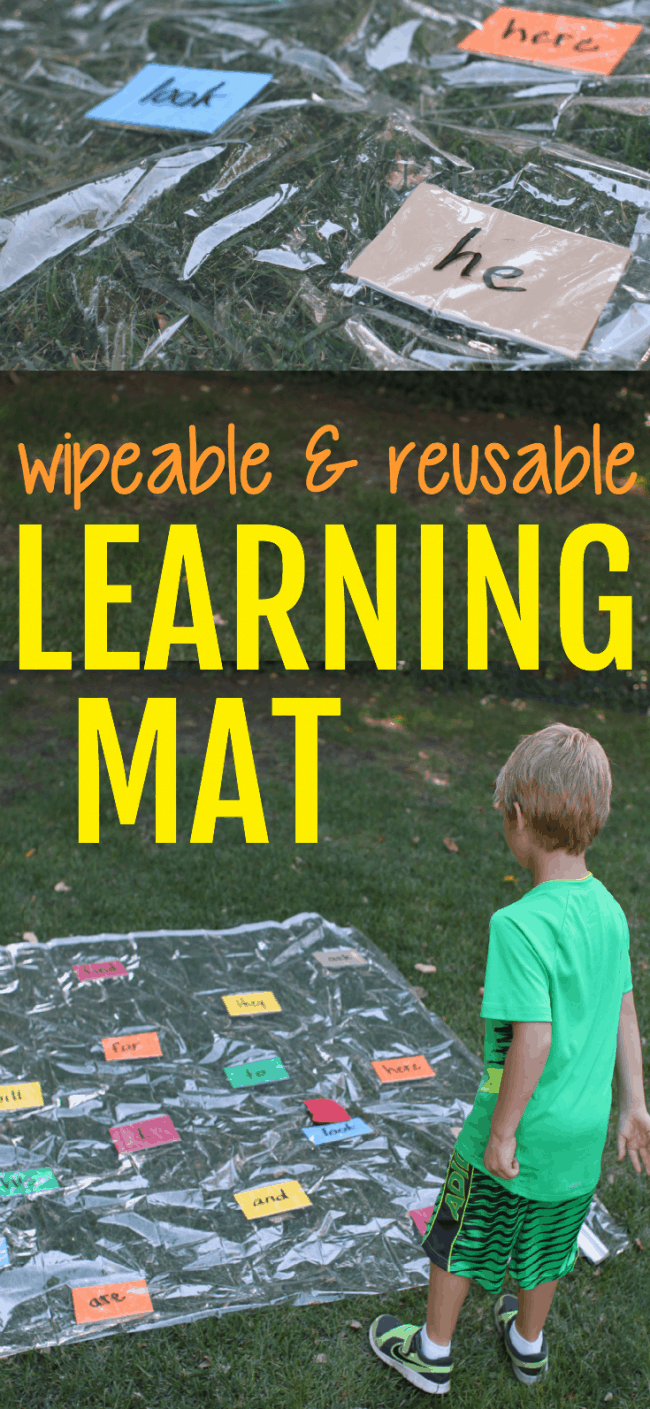
This Wipeable and Reusable Learning Mat is an excellent way to add kinesthetic learning to just about any subject matter! Whether it is letters, equations, sight words, or even books of the Bible, this mat can be easily adjusted…
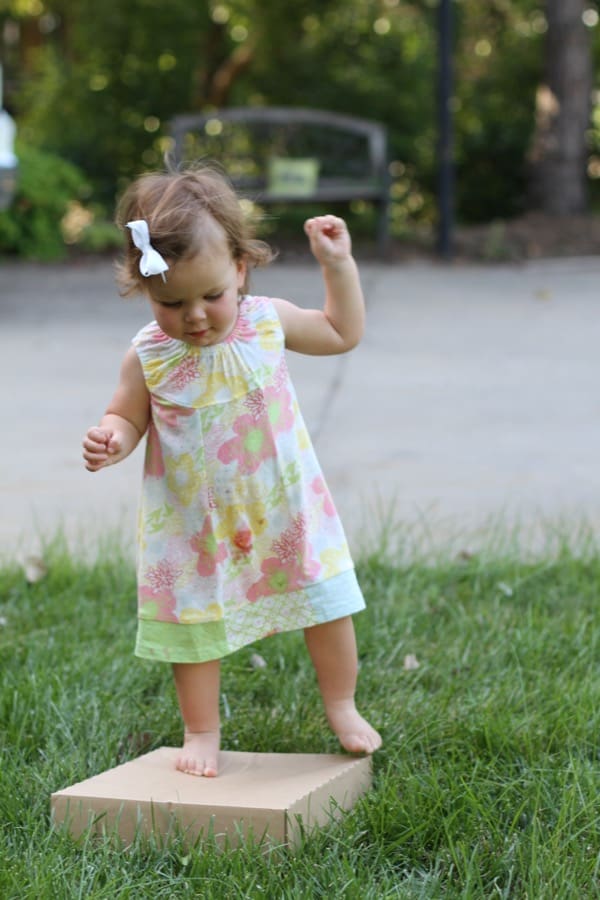
We have a healthy supply of boxes at our house. I am an avid Amazon Prime shopper, so it feels as though we get a package nearly every day (hey, it’s a lot easier to shop online than take…
Summer is here! Now is the perfect time to let toddlers do art projects…because you don’t have to worry about cleaning up a giant mess in your house (which just so happens to be my least favorite part of…
Ping Pong balls have quickly become my favorite learning manipulative. They are cheap. They are great for kinesthetic learners. They are easy to customize. And did I mention they are cheap?!?! Seriously…you can buy a bag of 144 white…
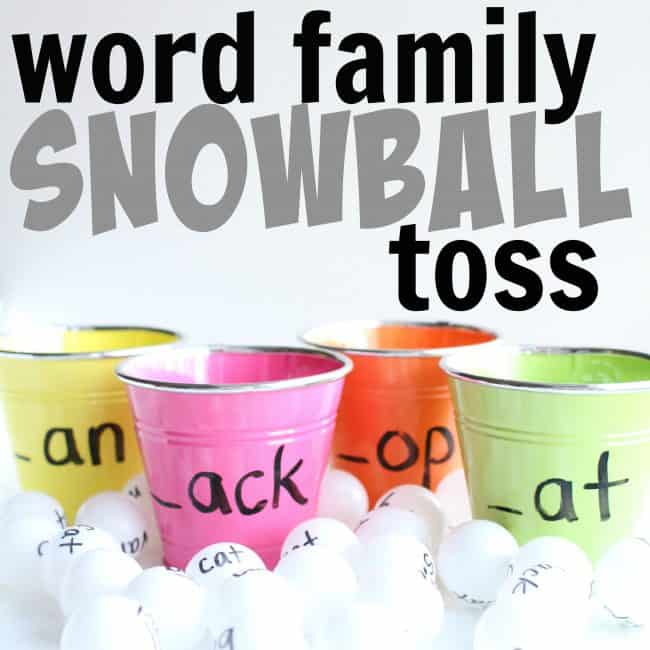
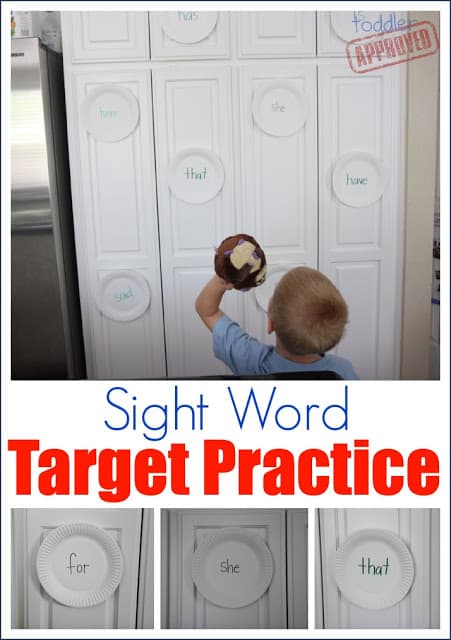
Word families can be a beneficial component in your teaching-your-child-to-read toolbox. To put it simply, word families are words that rhyme. Teaching children word families is a phonemic awareness activity that helps children see patterns in reading. This is…
This is a super-simple activity that Little Brother loved! I used leftover ping pong balls from our hands-on blood demonstration and the plastic inserts that hold frozen quiche bites from a baby shower I helped with several months ago. To…
Water balloons are so much fun for the summer! But besides being a great way to burn off some energy, they can also be a surprisingly good learning tool! We used water balloons to create this sum splat game…
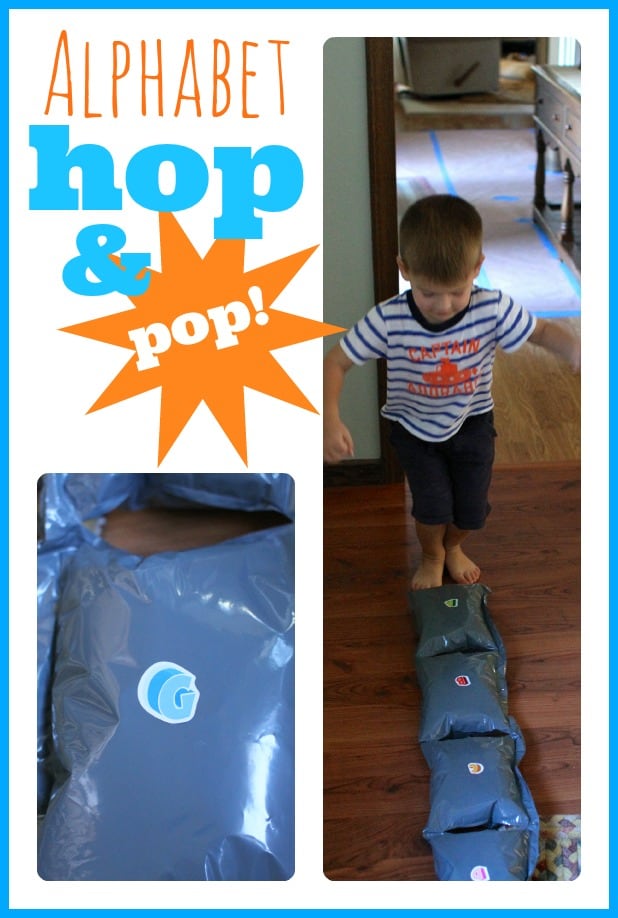
This post was inspired by some packaging material that came in one of the many boxes from Amazon that has arrived on our doorstep in the last few weeks. I have done probably way too much online shopping on…
Hi! I’m Kristina from Toddler Approved and I am so excited to be guest posting today while Jenae takes care of her pregnant self and rests! Can’t wait to meet her cute little baby girl. Today I am going to…
Guest Post by Anna of The Measured Mom How’s your summer? After a long, cold winter, we’re enjoying some beautiful weather – perfect for taking the kids outside. While my four-year-old could spend all day outdoors, his six-year-old sister often…
One of our favorite things about the summer is swimming. My parents have a pool and we live about 2 miles from a YMCA waterpark, so we are in the water a lot! Unfortunately, Little Brother has had some…
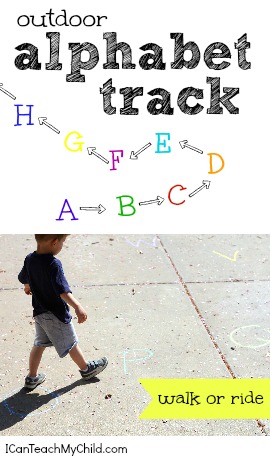
It is finally feeling like spring around here so we decided to have some fun outside! This activity was so simple and both boys enjoyed it far longer than I expected. It was especially great for my little “mover and shaker”,…
Guest Post by Ashley of Me and Marie Learning Winter is here! With the cold temperature and falling snow, winter sometimes means no outdoor play for our children. Which in turn leads to our children having higher energy levels! So,…